


Who should use this cabinet sample display guide for dealers?
- New cabinet dealers opening a first showroom or upgrading a small display area.
- Established showrooms that carry too many similar finishes and struggle to explain the differences.
- Distributors selecting a factory product line for a regional market.
- OEM or private-label buyers who need samples that lead to repeatable cabinet orders.
Key takeaways
- Display complete solutions, not only door colors; homeowners buy a room, while the dealer must sell a workable specification.
- Use four to six distinct display stories before adding more finishes or accessories.
- Show the construction details that affect value: carcass, edge treatment, hardware, interiors, and moisture-sensitive applications.
- Give every sample a finish code, substrate, sheen, price-band position, and compatible product line.
- Retain an approved control sample so the showroom promise can be checked against later batch production.
What samples does a cabinet dealer need before opening a showroom?
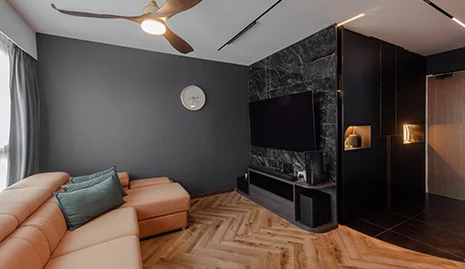
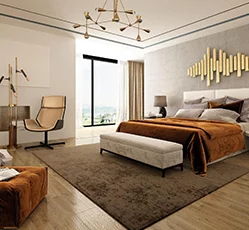
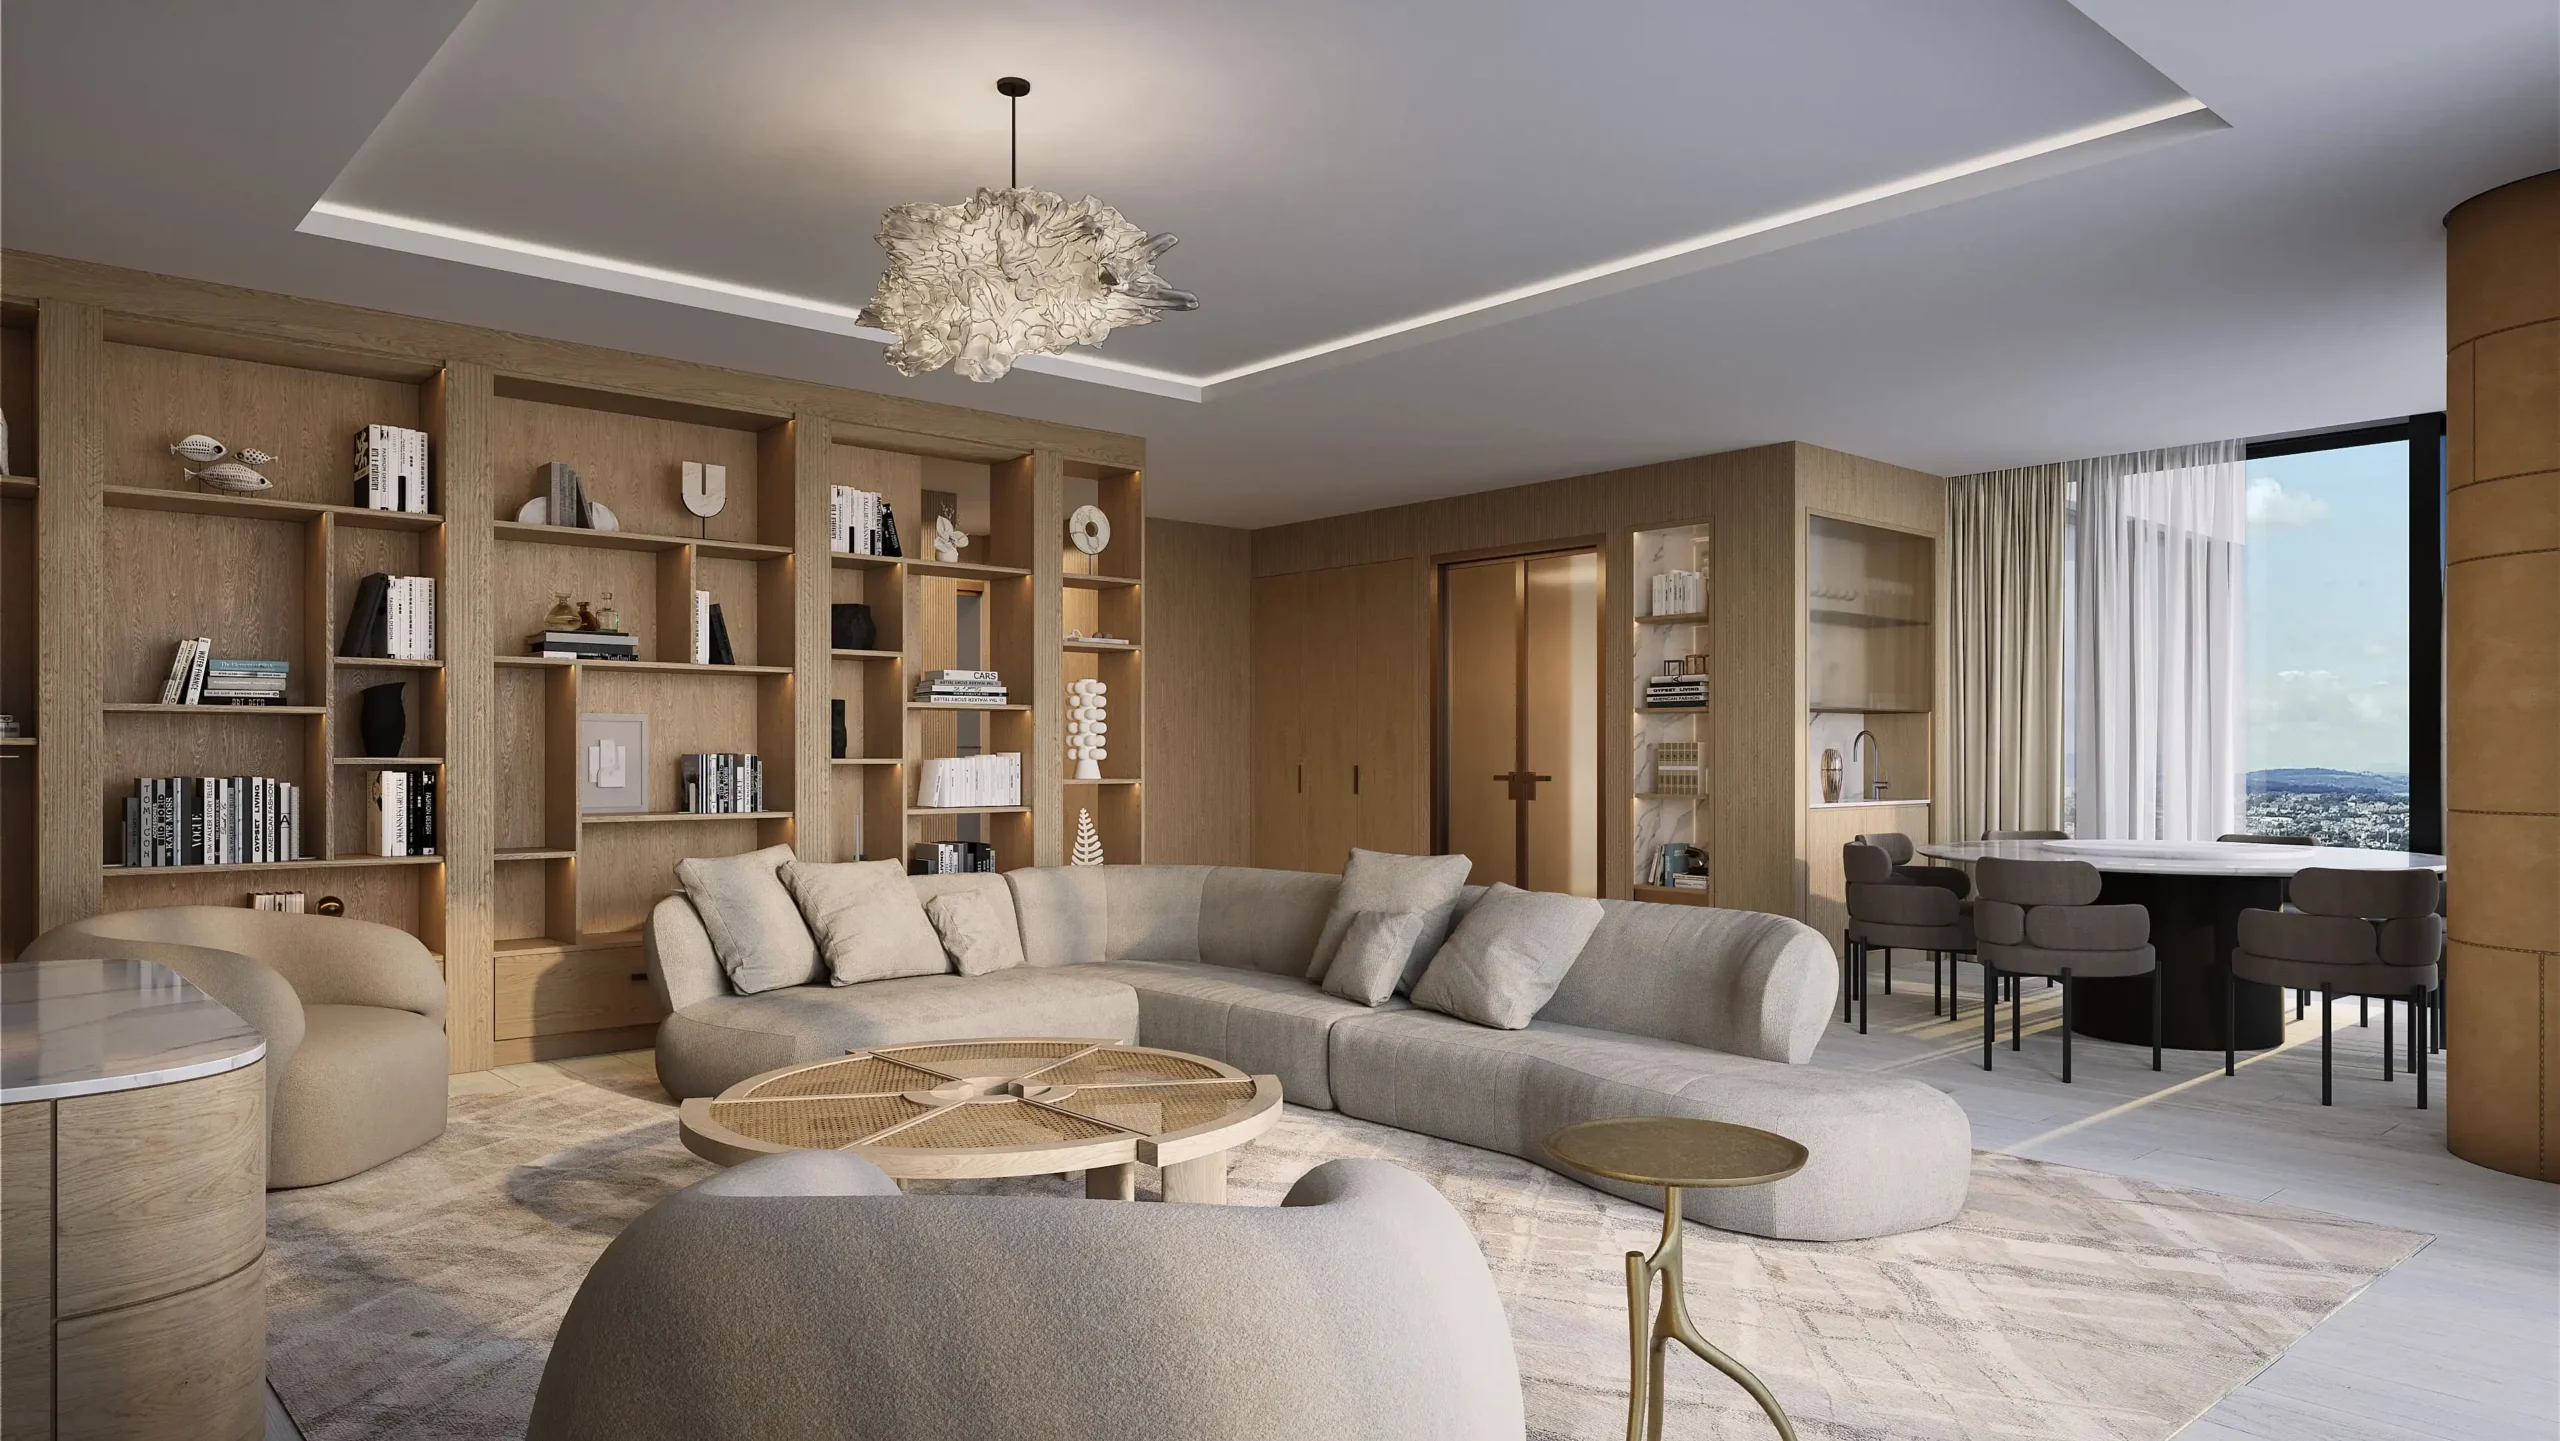
The right mix depends on local housing, budget, and available floor area. A compact showroom can still sell a broad range if its samples are organised by customer decision rather than by every available color. Each main display should demonstrate a clear use case, such as an entry-level apartment kitchen, a family kitchen, a premium veneer or lacquer kitchen, a wardrobe system, or a bathroom vanity. Then use smaller samples to expand color and material choice without filling the room with duplicate full kitchens.
On mobile, swipe left or right to view all table columns.
| Display element | What it should show | Why it helps a dealer sell |
|---|---|---|
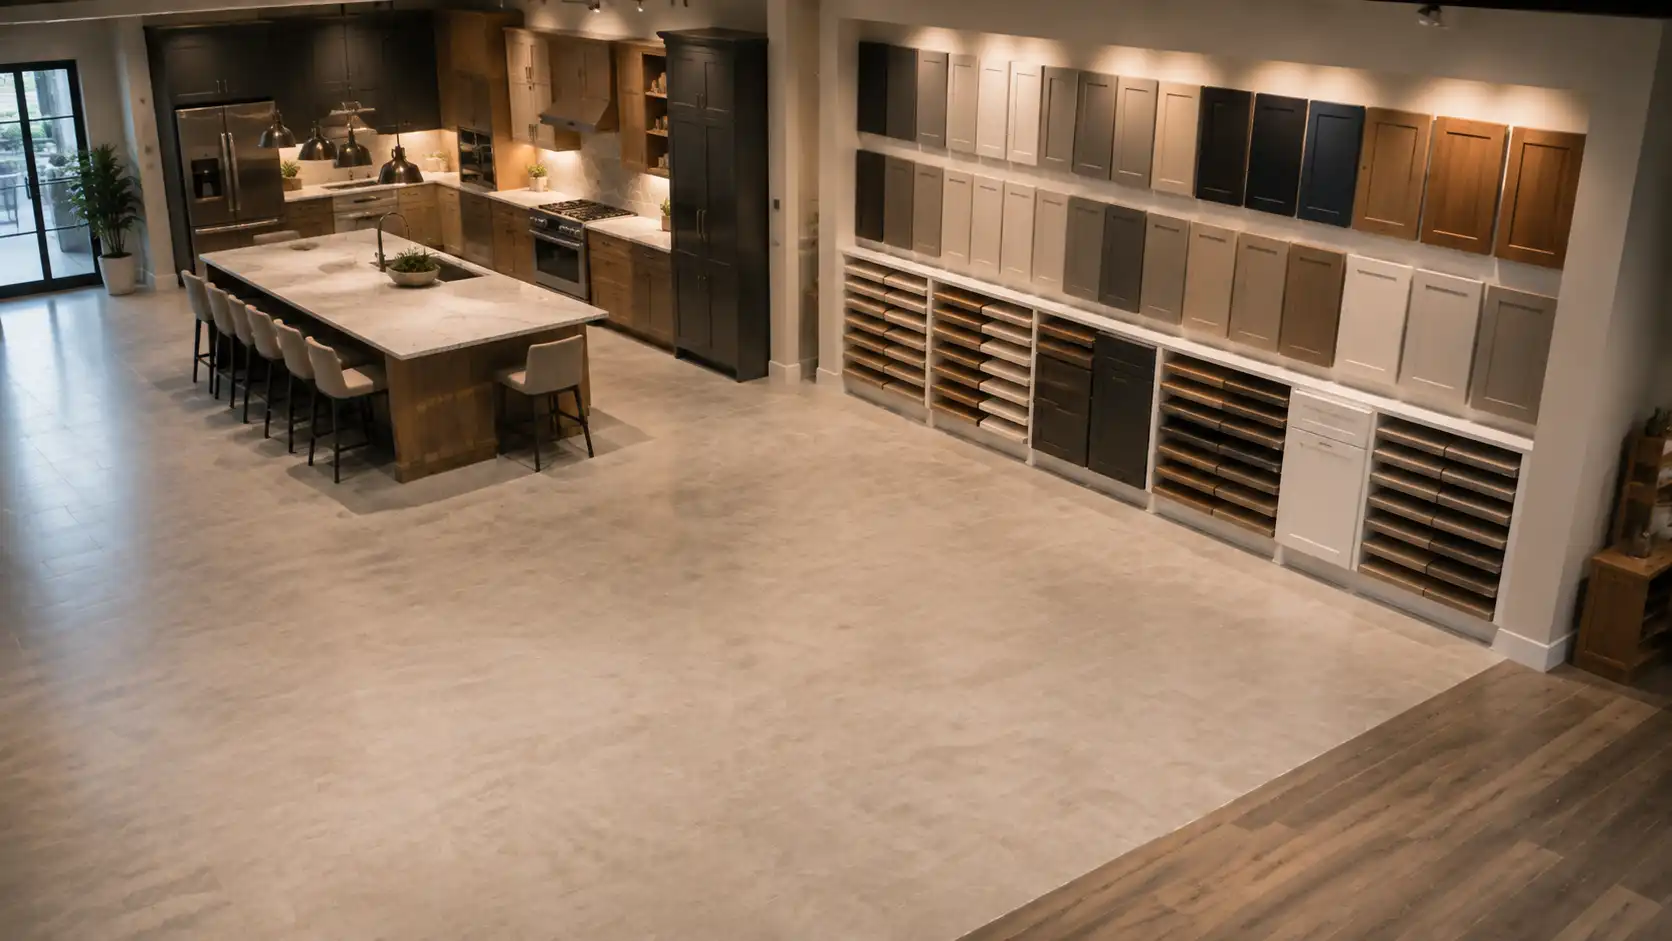
| Complete kitchen setting | Layout, doors, countertop interface, handles, lighting, storage, appliance gaps | Lets homeowners understand the total look and lets staff qualify a project by style and price band |
| Door and finish wall | Melamine, PET, lacquer, veneer or other chosen local-market finishes; sheen and edge profile | Offers choice without creating a full display for every color |
| Carcass cutaway | Board type, thickness, back panel, edge banding, shelf support, connector construction | Turns an invisible quality discussion into a visible comparison |
| Hardware station | Hinges, drawer slides, lift-up systems, pull-outs, handles and adjustments | Allows customers to test daily-use function instead of judging only appearance |
| Whole-house vignette | Wardrobe, vanity, TV cabinet or wall panel coordinated with the kitchen palette | Creates a natural upgrade path from one room to a larger package |
How should dealers choose showroom product lines?
Choose product lines around the market you can serve consistently. Review typical dwelling type, kitchen size, climate, homeowner budget, preferred style, installation capability, and delivery expectations. A dealer in a rental-apartment market may need durable, easy-to-replace melamine doors and repeatable modules. A design-led residential market may need a calm palette with PET, veneer, or lacquer options, but it still needs a clearly specified carcass and hardware package.
Avoid mixing every finish into one display. Instead, label each setting as a saleable product line with a defined construction and upgrade path. The table below is a starting point, not a universal assortment.
On mobile, swipe left or right to compare the full recommendation table.
| Product-line role | Лучшее для | Recommended display evidence | Do not rely on |
|---|---|---|---|
| Value / repeatable line | Rental units, first homes, price-sensitive renovations | Durable door sample, carcass cutaway, standard storage and a clear option list | A premium-looking photo with no construction or scope explanation |
| Core family line | Most owner-occupied kitchens and wardrobe projects | Full kitchen, drawer and pull-out demos, coordinated wardrobe or vanity finish | Too many near-identical colors that slow the decision |
| Design upgrade line | Architect-led homes, villas, visible living spaces | Large finish panels, edge profile, lighting, stone and wall-panel compatibility | Small chips that hide veneer grain, sheen, or color variation |
| Whole-house line | Projects buying kitchen, wardrobes, vanities, TV cabinets and wall panels together | One coordinated palette across several room applications | Separate displays that make finishes appear unrelated |
For a realistic material conversation, link customers to the plywood, MDF, and particle board cabinet comparison. The right substrate depends on component, moisture exposure, fastening needs, span, finish process, and project budget閳ユ攺ot only the label printed on a sample board.
How should a showroom explain materials without overwhelming buyers?
Use a three-step conversation: appearance, performance, then specification. First, let the buyer choose a direction arm wood, light matte, painted color, or modern flat panel. Next, show the relevant practical trade-offs, such as scratch visibility, cleaning, edge durability, humidity exposure, grain variation, and repair expectations. Finally, record the proposed construction by component: cabinet carcass, door panel, back panel, shelf, sink base, vanity, and hardware.
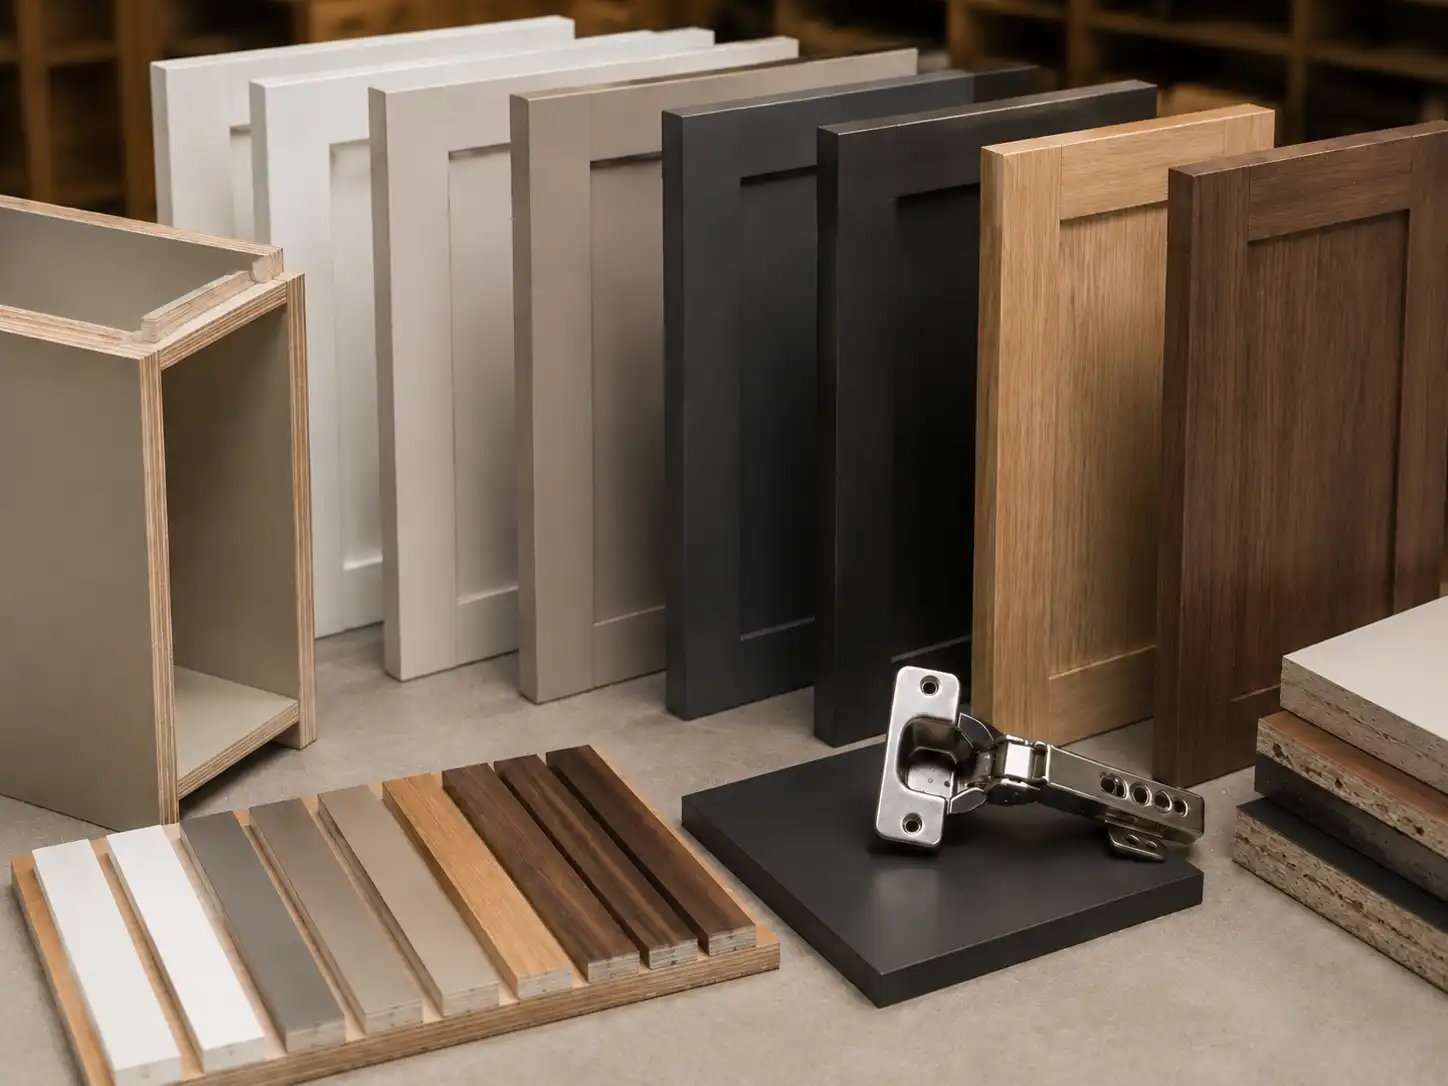
Small, honest labels help. A display tag can identify the finish family, substrate, sheen, edge treatment, compatible carcass choices, and the price-band role. Do not call all boards?or make a performance claim that is not backed by the actual construction. For sink bases and bathroom vanities, explain that sealed cut edges, plumbing coordination, ventilation, and installation quality also affect moisture performance.
Which showroom samples must be physically functional?
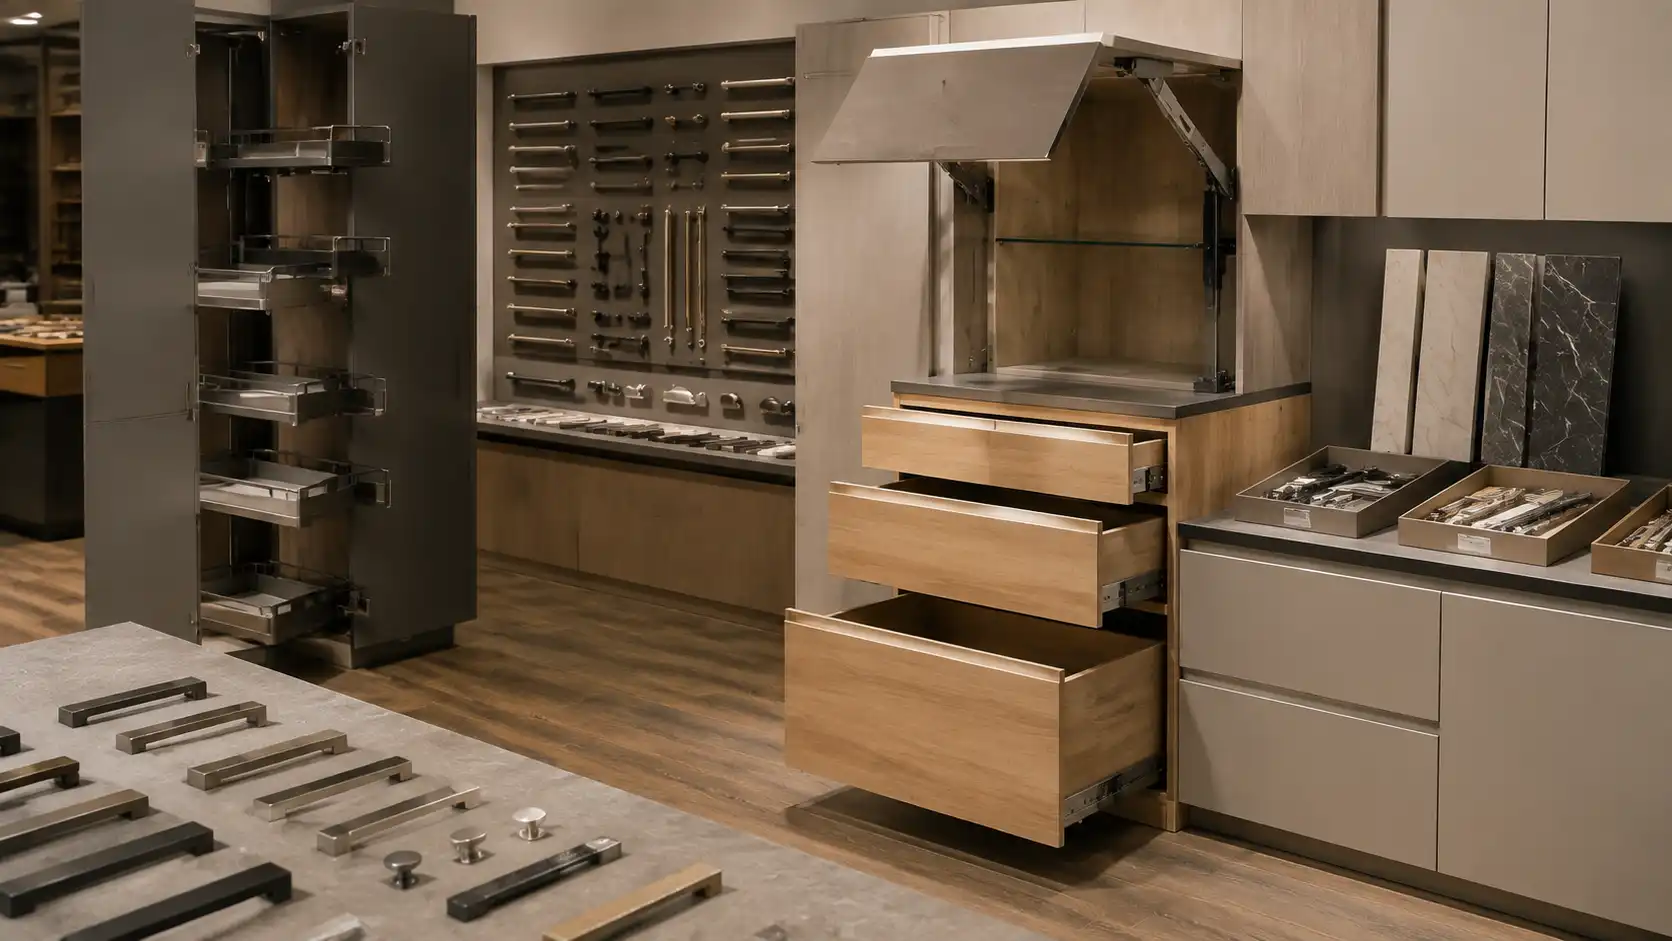
Make the high-frequency decisions touchable. A soft-close drawer should carry realistic loading; a tall pantry should demonstrate access; a lift-up door should show its required clearance; and a pull-out should reveal its usable internal width. Include the handle, hinge, drawer-slide, and interior fittings that belong to the displayed price band. If an upgrade is optional, identify it as optional rather than letting customers assume it is included.
From a custom cabinet manufacturer’s perspective, functional displays prevent quotation disputes because they force the dealer to decide which hardware and interior system is promised. A beautiful door sample cannot tell a factory whether a tall unit needs a pull-out, whether a handle is integrated or surface-mounted, or whether a drawer system has a particular load requirement.
How can dealers connect samples to an OEM or private-label program?
Treat the showroom as a controlled product library. Each approved sample should have a code, supplier or finish reference, component application, date, and responsible owner. Keep a duplicate control sample in a protected file, especially for visible doors, veneer, paint, and special finishes. When a customer accepts a design, the dealer can reference the same code in the RFQ and shop-drawing review.
For OEM or private-label work, agree early on which items are standard, which can change by order, the sample-approval route, logo or packaging requirements, order quantity expectations, spare-parts policy, and who approves a production release. A factory can make a private-label cabinet package more repeatable when it receives a product matrix rather than loose photos or verbal descriptions.
Common showroom sample mistakes and how to prevent them
On mobile, swipe left or right to view all table columns.
| Mistake | Why it matters | Better control |
|---|---|---|
| Displaying only door chips | Buyers cannot judge layout, storage, construction, or price context | Pair small samples with four to six complete, differentiated room settings |
| Using unlabeled samples | Sales staff and factory may describe the same finish differently | Give every sample a controlled code and specification card |
| Showing upgrades as standard | Quotation and margin disputes follow | Mark standard, upgrade, and excluded items visibly |
| Ignoring local moisture or installation conditions | Material choice may not fit the final application | Discuss exposure, plumbing, ventilation, and installer capability by component |
| Keeping no approval sample | Later production has no reliable visual reference | Retain a dated control sample for every selected visible finish |
| Adding displays without removing weak lines | The showroom becomes confusing and expensive to refresh | Review enquiry, close-rate, margin, and after-sales data before each update |
Cabinet showroom sample checklist for dealers
- ☐Define the target customer, local project types, and price bands before ordering samples.
- ☐Plan four to six complete display stories with clearly different styles or use cases.
- ☐Include a door-and-finish library, carcass cutaway, hardware station, and one whole-house cross-sell vignette.
- ☐Label every sample with finish code, substrate, sheen, edge treatment, product line, and standard or upgrade status.
- ☐Test doors, drawers, pull-outs, and lift-up systems as a customer would use them.
- ☐Keep a protected approval sample for each visible finish and update it through formal revision control.
- ☐Create a product matrix that links the showroom promise to quotation, drawings, materials, hardware, packing, and after-sales support.
- ☐Review which samples create qualified enquiries, repeat orders, and avoidable claims every quarter.
Frequently asked questions
How many cabinet displays should a new dealer showroom have?
Start with four to six complete display stories if the space and budget are limited. The goal is not maximum variety; it is a clear choice across the main customer segments and price bands. Add a finish wall and functional hardware station to extend choice. Expand only when sales data shows a real gap in your assortment.
Should a dealer show every cabinet color available from the factory?
No. Show a curated range that fits your market, then use a coded sample library for additional choices. Too many similar samples slow selection and make staff training harder. A reliable showroom explains the standard range, upgrade paths, and special-order process rather than displaying every possible finish.
What information should be on a cabinet door sample label?
Include the finish name and code, substrate, surface or sheen, edge treatment, intended product line, compatible carcass options, and whether the item is standard or an upgrade. Add a note if natural grain or color variation is expected. The label should help a salesperson and factory describe the same component accurately.
How do showrooms reduce color mismatch complaints?
Approve and retain a physical control sample for visible finishes, identify it by project or product-line code, and compare early production under agreed lighting when the finish is critical. Explain expected variation for veneer, stone, and some decorative surfaces before sale. Do not make a showroom light box the only reference for a completed home.
Can one showroom sell kitchen cabinets and whole-house furniture together?
Yes, if the displays make the coordination understandable. Use one or two palettes across a kitchen, wardrobe, vanity, TV cabinet, or wall panel vignette. Then specify each room by component because moisture, loading, dimensions, hardware, and installation requirements differ even when the visible color is shared.
What should an OEM cabinet dealer send to a factory for a sample order?
Send the target market, showroom plan, product-line matrix, preferred materials and finishes, dimensions, hardware expectations, desired packaging, brand or private-label requirements, target order volume, and destination. Photos are useful for style direction, but a written component schedule prevents the factory from guessing what belongs in the sample package.

Build a showroom that can become a repeatable product system
The strongest cabinet display is a selling tool and a technical reference at the same time. It helps a homeowner choose confidently, gives a dealer a clear quote basis, and gives the factory controlled information for drawings, sampling, production, packing, and future repeat orders.