




A mobile-friendly guide for turning design intent into an approved, production-ready custom cabinet package.
Who should use this cabinet specification guide for interior designers?
- Interior designers preparing kitchen, wardrobe, vanity, TV cabinet, wall-panel, or whole-house cabinet packages.
- Design managers coordinating approved finishes, appliance data, lighting, stone, metal, and site interfaces.
- Contractors who need clear cabinet codes, tolerances, hardware, and packing information before installation.
- Developers, dealers, and B2B buyers comparing custom cabinet manufacturers on the same technical scope.
Key takeaways
- A reference image is not a cabinet specification; drawings and a component schedule are needed to control the result.
- Specify each component by function: carcass, door, end panel, filler, countertop interface, hardware, and accessories.
- State the drawing revision and measurement status. A preliminary quote cannot become a production release by assumption.
- Approve a control sample for visible finishes and retain it through production and final inspection.
- Give every cabinet, panel, filler, and hardware pack a code that links drawings, packing, and installation.
What should an interior designer include in a cabinet specification?
| Specification item | What to define | Why it matters before production |
|---|---|---|
| Drawing control | Issue date, revision number, approval owner, dimension status, room and cabinet codes | Prevents a factory from building an obsolete or unapproved drawing version |
| Scope and construction | Cabinet types, carcass, doors, panels, fillers, plinths, countertops, accessories, installation inclusions | Makes quotations and handovers comparable item by item |
| Materials and finishes | Substrate, thickness, visible finish, sheen, edge treatment, grain direction, sample reference | Controls appearance, durability, and batch consistency |
| Hardware and functionality | Hinges, slides, lift-up systems, handles, pull-outs, lights, opening direction, adjustment expectation | Avoids drilling conflicts and function changes after fabrication |
| Interfaces and tolerances | Appliances, plumbing, electrical, ventilation, stone, glass, metal, wall condition, finished levels | Reduces site rework where cabinetry meets other trades |
| QC and packing | Control sample, inspection checkpoints, defect standard, carton labels, room grouping, spares | Protects the approved result through delivery and installation |
1. How should drawings and cabinet codes be controlled?
Issue a controlled drawing package for every cabinet zone. At minimum, include a dimensioned plan, elevations, critical sections, cabinet code schedule, and the latest revision number. Show ceilings, bulkheads, windows, doors, wall returns, columns, skirting, floor levels, service points, and any adjacent stone, glass, metal, or wall-panel work. Mark whether dimensions are concept-stage, site-measured, or final construction dimensions.
Use a code for every cabinet, panel, filler, and loose hardware pack. A useful code identifies the room or unit, cabinet location, and orientation. This single code should appear on the drawings, bill of quantities, factory inspection record, carton label, and installation checklist. It is especially valuable when a project repeats similar kitchens or wardrobes across multiple apartments.
For baseline layout logic, link readers to the standard kitchen cabinet dimensions guide. Final sizes must still follow the actual site survey, appliance manuals, and local project requirements.
2. How should materials and finishes be specified by component?

Specify the cabinet system component by component, rather than writing only 鈥渨ood finish kitchen鈥?or 鈥渟ame as rendering.鈥?A dry pantry carcass, sink base, painted door, veneer end panel, and open shelf can need different substrates, finishes, edge treatment, and inspection criteria. For every visible finish, state colour reference, sheen, grain direction where relevant, panel orientation, edge detail, and acceptable variation.
| Component | Specification decisions | Factory-side check |
|---|---|---|
| Carcass | Board type, thickness, internal colour, back-panel method, wet-zone edge treatment | Confirm substrate, drilling strength, exposed edges, and cutout sealing |
| Door and drawer fronts | Paint, melamine, PET, veneer, laminate, or other finish; colour; sheen; profile; grain direction | Match the approved control sample under consistent light before batch production |
| End panels and fillers | Finished face, thickness, scribing allowance, panel joint and grain direction | Confirm handedness and whether site trimming is permitted |
| Open shelves and tall units | Span, load, thickness, support detail, lighting and visible edges | Review sag risk, fixing points, and service access before machining |
| Vanity and sink base | Moisture exposure, plumbing cutouts, basin, splash-zone, countertop and wall interfaces | Check sealing and clearance around pipes rather than assuming a board name solves moisture risk |
For a material comparison, use the plywood, MDF, and particle board cabinet guide. The best material depends on exposure, load, finish, fixing requirements, and the project鈥檚 maintenance plan.
3. What hardware and functional details must be on the schedule?
List the hardware by cabinet code or cabinet type: hinge and opening angle, drawer slide, lift-up mechanism, pull-out, handle, organiser, lighting, and any electrical component. Show the door swing, handedness, drawer configuration, handle position, appliance clearance, and required soft-close or push-to-open function. For special hardware, attach the relevant installation envelope or model data rather than relying on a product photo.
The factory should review hardware drilling and movement with the cabinet construction before it cuts the first panel. For example, a tall pull-out, pocket door, or lift-up door may need a different cabinet depth, reinforcement, or clearance from an adjacent panel. A design that looks balanced in elevation can still fail if it cannot open beside an appliance, a wall return, or a stone overhang.
4. Which site interfaces and tolerances should designers show?
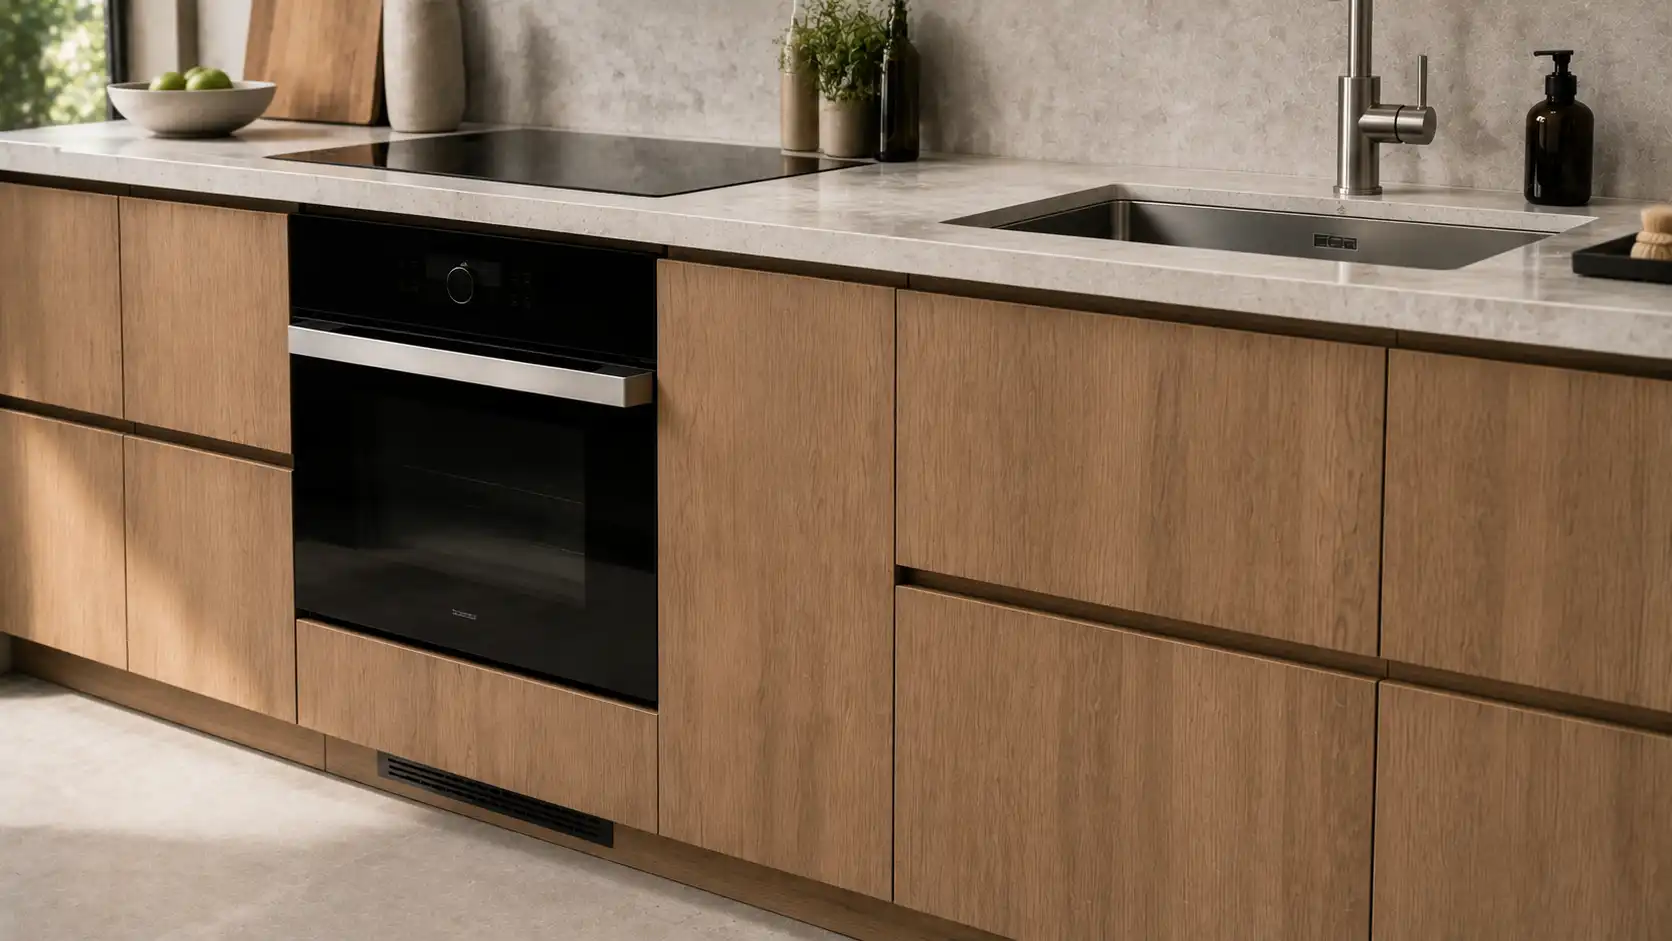
Show the conditions that cabinetry cannot safely guess: finished floor level, ceiling level, wall plumbness, service points, appliance model, ventilation route, countertop thickness, basin and tap data, lighting position, and access panels. Set a measurement hold point if the site is not ready. A cabinet manufacturer should know whether fillers are fixed design dimensions or adjustable site-scribing pieces.
| Interface | What the drawing should show | Risk when omitted |
|---|---|---|
| Appliance | Model number, installation manual, cutout, ventilation, door and handle clearance | Cabinet opening or adjacent door conflicts with the installed appliance |
| Plumbing and electrical | Pipe, waste, valve, socket, switch, lighting driver, and access location | Factory cutouts miss the service route or remove needed cabinet structure |
| Stone and splashback | Thickness, overhang, support, seam, upstand, and templating responsibility | Gaps, clashes, or unplanned support work appear at installation |
| Walls, floors, and ceilings | Survey status, tolerance, skirting, bulkhead, out-of-plumb or out-of-level condition | Fixed panels do not fit the opening or leave uneven reveal lines |
| Lighting and glass | Fixture model, cable route, driver access, glass size, fixing, and protection method | Unsafe retrofit work or damage to fragile components after delivery |
5. How do control samples and shop drawings protect the design?

Approve two different references: a technical shop-drawing package and a physical control sample. Shop drawings control size, code, construction, and interfaces. The control sample controls what the customer sees: finish, colour, sheen, veneer character, edge treatment, hardware appearance, and acceptable variation. Label the sample with the project, component, finish code, and approval date.
At KEJIA, the safest production release happens only after the approved drawing revision and visible-finish sample point to the same cabinet code. If a finish or appliance changes later, issue a revised drawing and state the price or production impact. Do not use chat messages, unmarked renderings, or a quotation description as a substitute for a controlled release.
6. What should designers require for QC, packing, and installation?

Ask the factory to inspect against the approved drawings and control sample at first-piece, in-process, final, and packing stages. Request photos or an inspection record for high-risk details: finish match, edge banding, cutouts, panel orientation, door gaps, hardware function, cabinet codes, and carton labels. For a deeper contractor-facing process, link to the cabinet quality-control checklist.
The packing schedule should use the same room and cabinet codes as the drawings. State whether the project is assembled, flat-packed, or mixed; identify face and corner protection; show hardware-pack allocation; and specify spare parts. When solid-wood packaging is used, verify destination requirements with the freight partner; the IPPC ISPM standards provide the international framework, but shipment-specific requirements still need confirmation.
Common cabinet specification mistakes and how to avoid them
| Mistake | Why it matters | Better specification method |
|---|---|---|
| Using only renderings or inspiration images | Dimensions, construction, and scope remain assumptions | Issue plans, elevations, cabinet codes, and a component schedule |
| Writing 鈥渟ame as sample鈥?without identifying it | No shared production or inspection reference exists | Label a retained control sample with finish code, component, and approval date |
| Showing appliance space but no appliance data | Cutouts and clearances may be wrong | Attach the actual model or mark a design hold point |
| Ignoring wall and floor tolerance | Fixed panels and fillers may not fit the site | Define survey status and scribing or adjustment allowance |
| Specifying hardware only by appearance | Drilling, opening angle, load, and installation space are missed | Schedule the model, function, position, and relevant installation envelope |
| Separating packing from design information | Installation teams cannot sort components by room | Carry cabinet codes from drawings into labels, packing lists, and hardware packs |
Cabinet specification checklist before production release
- Confirm the latest dimensioned plans, elevations, sections, cabinet codes, and revision number.
- Mark whether dimensions are conceptual, site-measured, or final construction dimensions.
- Define all included and excluded components, including panels, fillers, plinths, countertops, accessories, and installation interfaces.
- Specify substrate, thickness, visible finish, colour, sheen, edge treatment, grain direction, and sample reference by component.
- Schedule hardware models, opening direction, handles, internal accessories, lights, and appliance clearance.
- Attach appliance, plumbing, electrical, ventilation, stone, glass, and metal interface data.
- Approve and label a physical control sample for visible finishes.
- Agree the factory QC checkpoints, defect-closure process, packing codes, and spare-parts requirement.
- Issue a signed production release only after drawings and samples match the approved scope.
Frequently asked questions
What is the difference between a cabinet specification and a shop drawing?
A cabinet specification states the required materials, finishes, hardware, scope, quality level, and interfaces. A shop drawing converts that requirement into manufacturing dimensions, cabinet codes, construction details, and installation information. Designers should issue the specification first, then approve the shop drawings before production begins.
How detailed should a cabinet specification be for an initial quotation?
It should define the project scope, approximate dimensions, quantities, target finish level, preferred materials, hardware direction, destination, and delivery expectation. Unknown items can remain open, but they must be listed as assumptions. A quotation based on unmarked assumptions is not reliable enough for final procurement or production.
Should designers specify one board material for the whole cabinet?
Usually no. Different components face different moisture, load, finish, and fixing demands. A sink base, painted door, long open shelf, dry pantry carcass, and wall panel may need different solutions. Specify the component function and exposure, then ask the manufacturer to confirm the suitable construction.
What must be approved before a cabinet factory starts production?
Approve the latest shop drawings, cabinet code schedule, material and hardware schedule, appliance and service data, visible-finish control sample, quantity schedule, and packing requirements. The release should identify the drawing revision and approval owner. Any later change needs a controlled revision with a stated cost or lead-time effect.
How should a designer manage colour and veneer variation?
Approve a physical control sample and describe what variation is acceptable. For natural veneer, define grain direction, panel matching, and the allowable range rather than promising identical grain. For painted finishes, confirm colour reference and sheen under agreed lighting. Review the first pieces before the factory repeats the finish across the full batch.
Who is responsible for final site measurement?
The project team should name the responsible party before production release. The drawings must identify whether dimensions are from design, a preliminary survey, or a final site measurement. The cabinet factory can review the data, but it should not be assumed to own conditions it cannot physically verify without an agreed site-survey scope.
Turn the design intent into a buildable cabinet package
The best cabinet specification guide for interior designers is a practical agreement between design intent, factory capability, and site reality. Clear codes, component-level materials, controlled samples, documented interfaces, and traceable packing allow the same decision to travel from drawing to factory to installation.
Send your drawings, finish references, appliance information, target market, and project schedule to KEJIA for a cabinet specification review and factory quotation.