





A cabinet quality control checklist for contractors should begin before production and finish only when the delivered package can be installed by room and cabinet code. The essential checks are approved drawings, material and finish samples, component dimensions, door and drawer function, visible finish quality, hardware, packing, labels, and replacement parts. For custom cabinet projects, quality is not judged by appearance alone. Contractors and B2B buyers need to confirm that every cabinet matches the approved reference, fits the site interfaces, and arrives in an installation-ready sequence. The earlier a discrepancy is found, the less likely it is to become rework, a freight delay, or a site dispute.
Who should use this cabinet quality control checklist?
- Contractors coordinating cabinet delivery, installation, countertops, appliances, and final handover.
- Project managers and developers controlling repeatable quality across apartments, villas, hotels, or mixed-use projects.
- Interior designers who need the factory to follow approved shop drawings and finish samples.
- B2B buyers arranging factory inspections, export packing, freight, and replacement parts.
Key takeaways
- QC starts with an approved drawing and control sample; it cannot be added at the end of production.
- Inspect cabinet codes and components against the schedule, not against memory or a showroom photo.
- A good final inspection checks construction, function, appearance, accessories, and packing as separate items.
- Export packing must protect finished faces and also make each room or unit easy to sort on site.
- Record defects with a cabinet code, location, photo, drawing revision, and agreed correction action.
What should contractors check at each quality-control stage?
| Stage | Main check | Evidence to review | Risk if missed |
|---|---|---|---|
| Before production | Drawings, cabinet codes, materials, samples, hardware | Signed drawings, material schedule, approved control sample | Factory produces an unapproved version or assumes missing details |
| Incoming material | Board, finish, edge banding, glass, hardware | Material codes, sample match, thickness and colour check | Mixed colours, unsuitable board, or incorrect hardware enters the batch |
| In-process production | Cutting, drilling, edge treatment, assembly | First-piece inspection and production records | Repeated dimensional or drilling errors across many units |
| Final factory inspection | Dimensions, finish, alignment, function, accessories | Inspection checklist, photos, correction record | Defects are hidden inside sealed cartons |
| Packing and dispatch | Protection, labels, hardware packs, packing list | Carton labels, packing list, spare-parts list, shipping marks | Site sorting delays, damage, and missing parts |
| Site handover | Quantity, visible condition, room sequence, installation fit | Delivery receipt, issue log, installation feedback | Unclear responsibility for missing or mismatched components |
What must be approved before cabinet production begins?
The factory should not use a quotation, rendering, or chat message as the production reference. Contractors should release a controlled package containing the latest shop drawings, elevations, cabinet code schedule, material schedule, hardware list, appliance data, and finish samples. The package should identify the drawing revision, approval date, and decision owner.
For visible doors and panels, approve a control sample that states the finish code, sheen, edge-band colour, grain direction where relevant, and permitted variation. For a kitchen, confirm the exact appliance models and installation requirements. For a bathroom vanity, confirm basin, plumbing, splash-zone, and wall-condition information. These details prevent a cabinet that looks correct in the factory but conflicts with the site.
Use cabinet codes as the inspection language
Each cabinet, panel, filler, and hardware pack should connect to a code on the drawings and packing list. A useful code links the room or unit, cabinet position, material, and orientation. On multi-unit projects, this is how the contractor distinguishes a nearly identical left-side filler from the right-side filler for another apartment.
Before approving production, compare this coding system with the cabinet project timeline and confirm when a drawing revision becomes the controlled production file. If the project uses several board types, the plywood, MDF, and particle board cabinet material guide can help the team check whether the specified substrate suits the component and exposure.
How should contractors inspect cabinet materials and finishes?
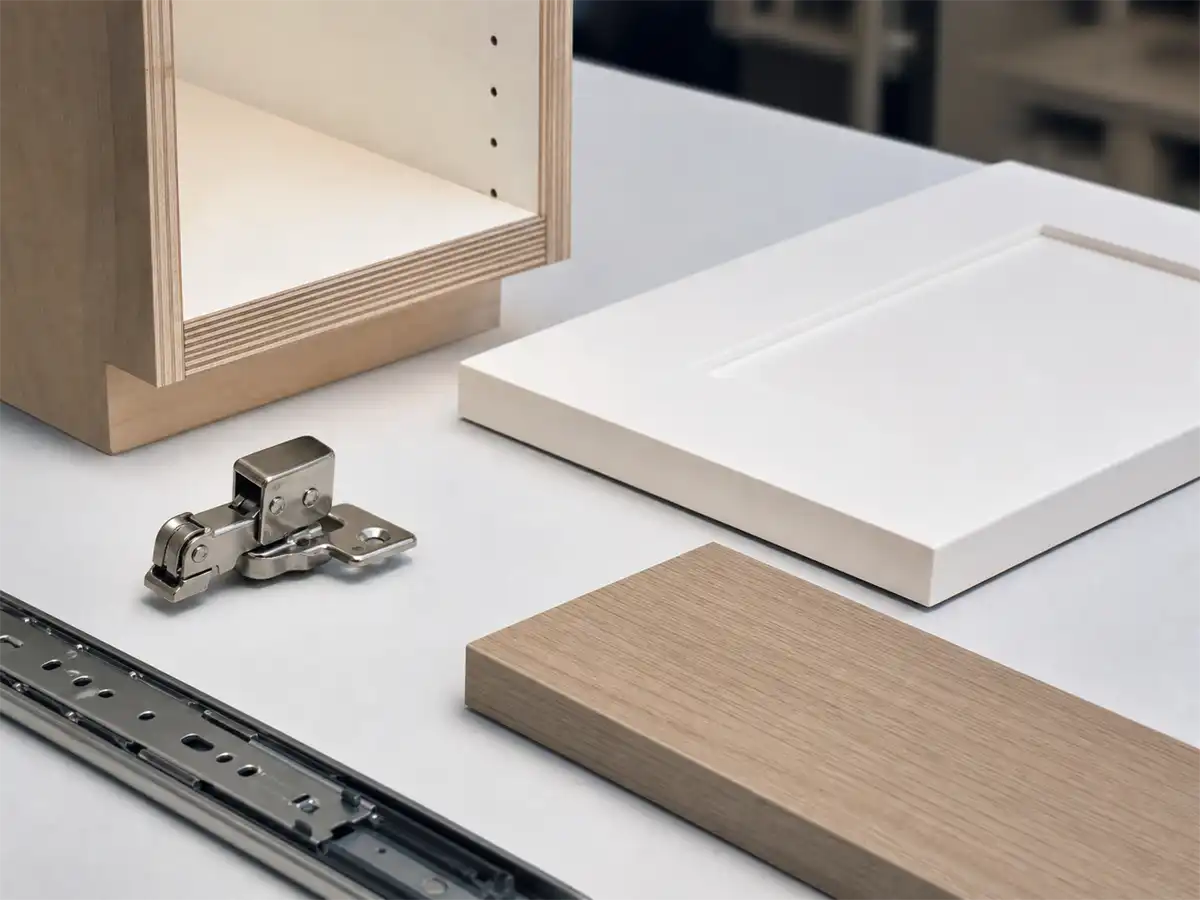
Material inspection is a comparison against the approved specification, not a general judgement that the cabinet looks good. Verify the specified substrate, panel thickness, visible finish, edge-banding treatment, glass or metal detail, and hardware model. Pay extra attention to sink bases, vanity units, long shelves, tall units, and door fronts because these parts face higher moisture, load, alignment, or visual-matching risk.
| Item | What to inspect | Practical contractor question |
|---|---|---|
| Carcass panels | Substrate, thickness, colour, exposed-edge treatment | Does this match the component schedule and wet-zone requirement? |
| Door and drawer fronts | Finish, sheen, grain direction, edge quality, colour consistency | Does the batch match the signed control sample under normal light? |
| Edge banding | Colour, thickness where specified, adhesion, clean corners and cutouts | Are exposed edges continuous and protected at vulnerable points? |
| Hardware | Brand/model, opening angle, load rating where specified, soft-close function | Is the agreed hardware installed in the right cabinet and position? |
| Glass, metal, lights, and accessories | Size, finish, protection, mounting parts | Are fragile or loose components separately protected and identified? |
Do not call plywood waterproof or assume a painted MDF door is suitable for every wet zone. Moisture performance also depends on sealed cut edges, plumbing openings, ventilation, installation quality, and leak management. Ask the factory to show how high-risk cutouts and exposed edges were treated before the package is packed.
Which dimensional and functional checks catch the most problems?
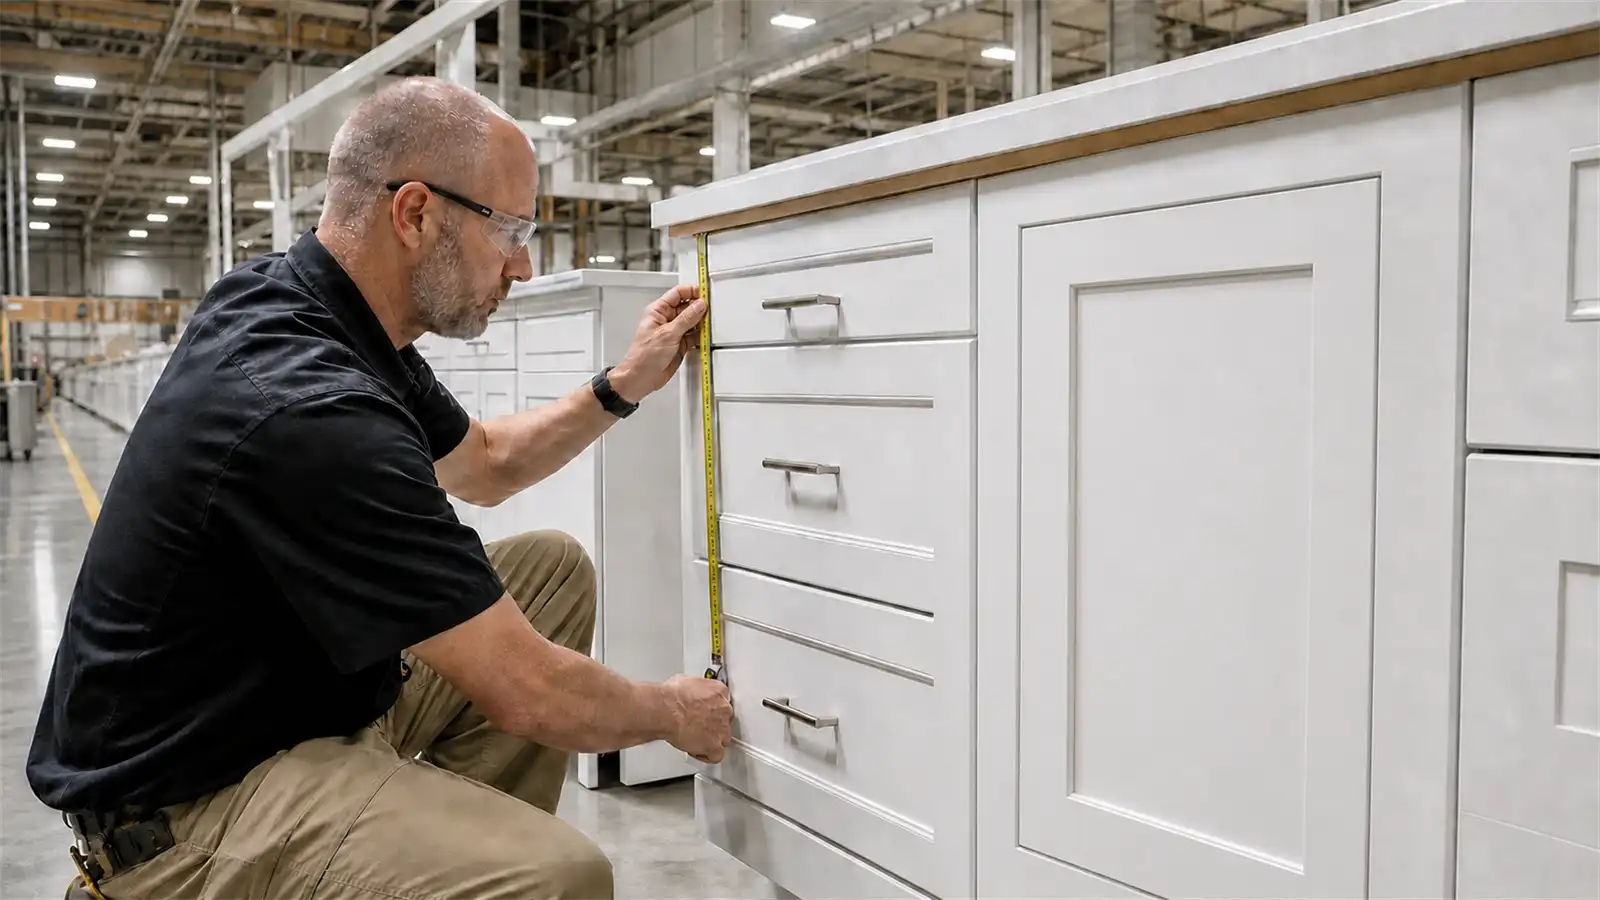
The final inspection should use the approved drawings and sample a meaningful set of cabinet types, not only the best-looking display unit. Measure cabinet width, height, depth, tall-unit alignment, shelf position, cutouts, and key appliance openings. Check that filler panels and end panels have the intended orientation. For kitchens, compare the actual cabinet dimensions with appliance installation data and countertop interfaces.
Check doors, drawers, and hardware in their working position
Open and close doors and drawers. Check the gaps, panel alignment, soft-close action, pull-out travel, hinge adjustment, and handle position. Inspect drawer boxes for smooth movement and correct mounting. Confirm that tall doors, lift-up doors, pull-out systems, and corner mechanisms operate without rubbing adjacent panels.
For assembled cabinets, check squareness and the connection between carcass, back panel, plinth, and hanging hardware. For flat-packed projects, inspect the drilling, connectors, component labels, and assembly hardware against the installation plan. A component may be dimensionally correct but still cause site delay if its drill pattern, handedness, or hardware pack is wrong.
What defects should be corrected before packing?
| Defect | Why it matters | Required action |
|---|---|---|
| Wrong finish, colour, or sheen | Cannot be solved by installation adjustment | Compare against control sample; remake or obtain a written project decision |
| Chipped or poorly bonded edge | Can expose the substrate and weaken appearance | Repair only if it meets the agreed standard; otherwise replace the component |
| Door gaps or misalignment | Creates visible quality issues and may affect function | Adjust hardware, then recheck adjacent panels and handle alignment |
| Incorrect drilling or handedness | Prevents installation or puts hardware in the wrong location | Correct before packing and update the affected component record |
| Missing accessory or hardware pack | Stops installation even when cabinetry is complete | Count, label, and pack separately by cabinet or room code |
| Insufficient face or corner protection | Damage can occur during loading and unloading | Repack with the agreed protective materials before release |
A correction should be closed only after the inspector rechecks it. Avoid a report that lists defects without a cabinet code, photo, owner, due date, and final status. This is especially important when a third-party inspector, contractor, and factory all attend the same release.
How should export packing support quality control?

Packing is part of cabinet quality because it preserves the approved product until installation. Confirm whether the project ships assembled, flat-packed, or in a mixed format. The packing plan should state carton limits, face and corner protection, glass treatment, hardware packing, spare parts, carton labels, packing-list structure, and loading sequence.
For projects using solid-wood packaging, confirm destination requirements with the freight partner before dispatch. The International Plant Protection Convention’s adopted ISPM standards are the official reference framework, but the destination-country and shipment-specific requirements still need to be verified.
At KEJIA, a project-ready packing check matches the cabinet code and room schedule to each carton before cargo release. Separate hardware packs should be protected and traceable. A small spare-parts package閳ユ敃uch as spare hinges, slides, touch-up material where appropriate, and commonly damaged fittings閳ユ敃hould be listed clearly rather than placed loose inside random cartons.
Cabinet quality control checklist for contractors
- Confirm the latest approved shop drawings, elevations, cabinet codes, and revision number.
- Match substrates, panel thicknesses, finishes, edge banding, and hardware to the approved material schedule.
- Keep a signed control sample for visible doors, panels, metal details, and other critical finishes.
- Inspect first pieces before the factory repeats a cabinet type across the batch.
- Check cabinet dimensions, appliance openings, drilling, handedness, fillers, and orientation against drawings.
- Test door gaps, drawer movement, hinges, slides, pull-outs, handles, and special hardware.
- Inspect moisture-risk edges, plumbing cutouts, glass, lighting, and other fragile details.
- Log every defect with cabinet code, photo, drawing revision, correction action, and recheck status.
- Verify each carton閳ユ獨 project, room or unit, cabinet code, and orientation label against the packing list.
- Confirm protective packing, accessory packs, spare parts, shipping marks, and inspection release before dispatch.
Common cabinet QC mistakes that create site rework
| Mistake | Why it creates a problem | Better approach |
|---|---|---|
| Inspecting only after all cartons are sealed | Rework is slower and may affect freight booking | Inspect first pieces and complete a final pre-packing inspection |
| Checking colour without an approved sample | Opinions replace a shared quality standard | Keep one identified control sample through production and inspection |
| Measuring only external cabinet sizes | Cutouts, drilling, fillers, and hardware can still be wrong | Check critical interfaces against drawings and appliance data |
| Treating labels as packing paperwork | Components are lost or installed in the wrong room | Use labels as a direct link to the cabinet and room schedule |
| Accepting a defect list with no closure record | Problems are carried into shipment | Reinspect and close every corrective action before cargo release |
| Ignoring site conditions during factory QC | A compliant cabinet may still not fit the actual site | Confirm measurement control points, finished levels, and service locations early |
Frequently asked questions
When should cabinet quality control start?
It starts when the contractor and factory approve the production reference: shop drawings, material schedule, hardware, cabinet codes, and control samples. Incoming materials and first pieces should then be checked before the full batch is repeated. Final inspection confirms that the completed package still matches that approved reference.
What should a contractor check during a cabinet factory inspection?
Check the drawing revision, cabinet codes, dimensions, materials, visible finishes, edge treatment, hardware, door and drawer function, drilling, accessories, packing protection, labels, and packing list. Focus on high-risk or repeated components, rather than reviewing only one attractive completed cabinet.
Is a third-party inspection enough for a custom cabinet project?
It is useful, but an inspector needs a clear reference package. Give the inspector the latest drawings, sample approvals, cabinet schedule, quality criteria, and packing requirements. The contractor should still define which defects are acceptable, who approves corrections, and how reinspection will be documented.
How do I inspect cabinet finish quality fairly?
Compare it with the approved control sample under normal, consistent lighting. Check colour, sheen, grain direction, edge quality, panel alignment, and visible damage. For veneer and natural materials, the control sample should describe the allowed variation rather than promise identical colour or grain on every panel.
What should be included in a cabinet packing list?
The list should identify each carton or package, the project, room or unit, cabinet code, quantity, package type, gross weight where required, and related hardware or accessory packs. It should match the drawing and room schedule so the contractor can receive, sort, and install components without opening every carton.
What happens if a defect is found after shipping?
Record the cabinet code, room, photo, drawing revision, packing condition, and detailed defect immediately. This helps the factory distinguish transport damage, a missing item, installation damage, or a production discrepancy. Agree on the required replacement, repair material, or technical instruction using the project records rather than a general description.
Inspect against the approved reference, then protect the result
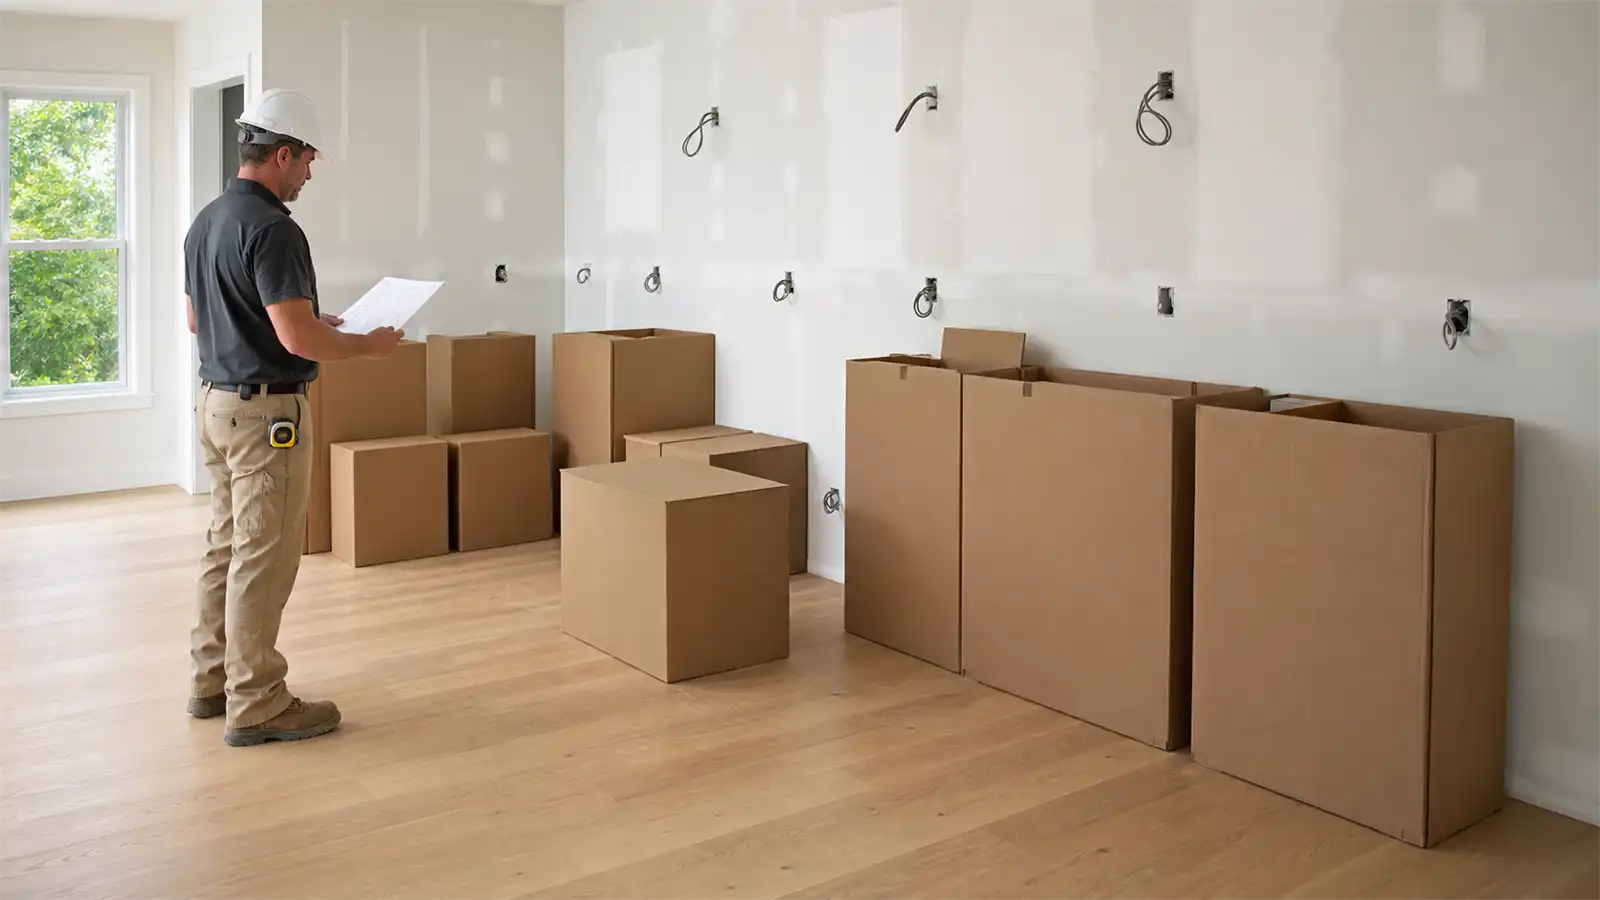
The strongest cabinet QC system is simple: one controlled specification, checks at every production stage, clear defect closure, and packing that preserves both the product and its identity. This gives contractors practical control over installation risk and gives the factory an objective standard to build against.