


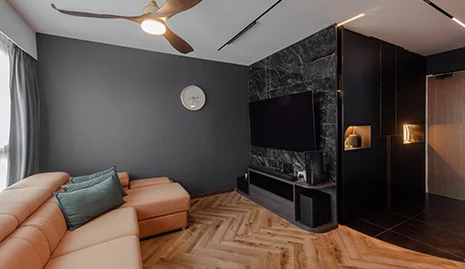

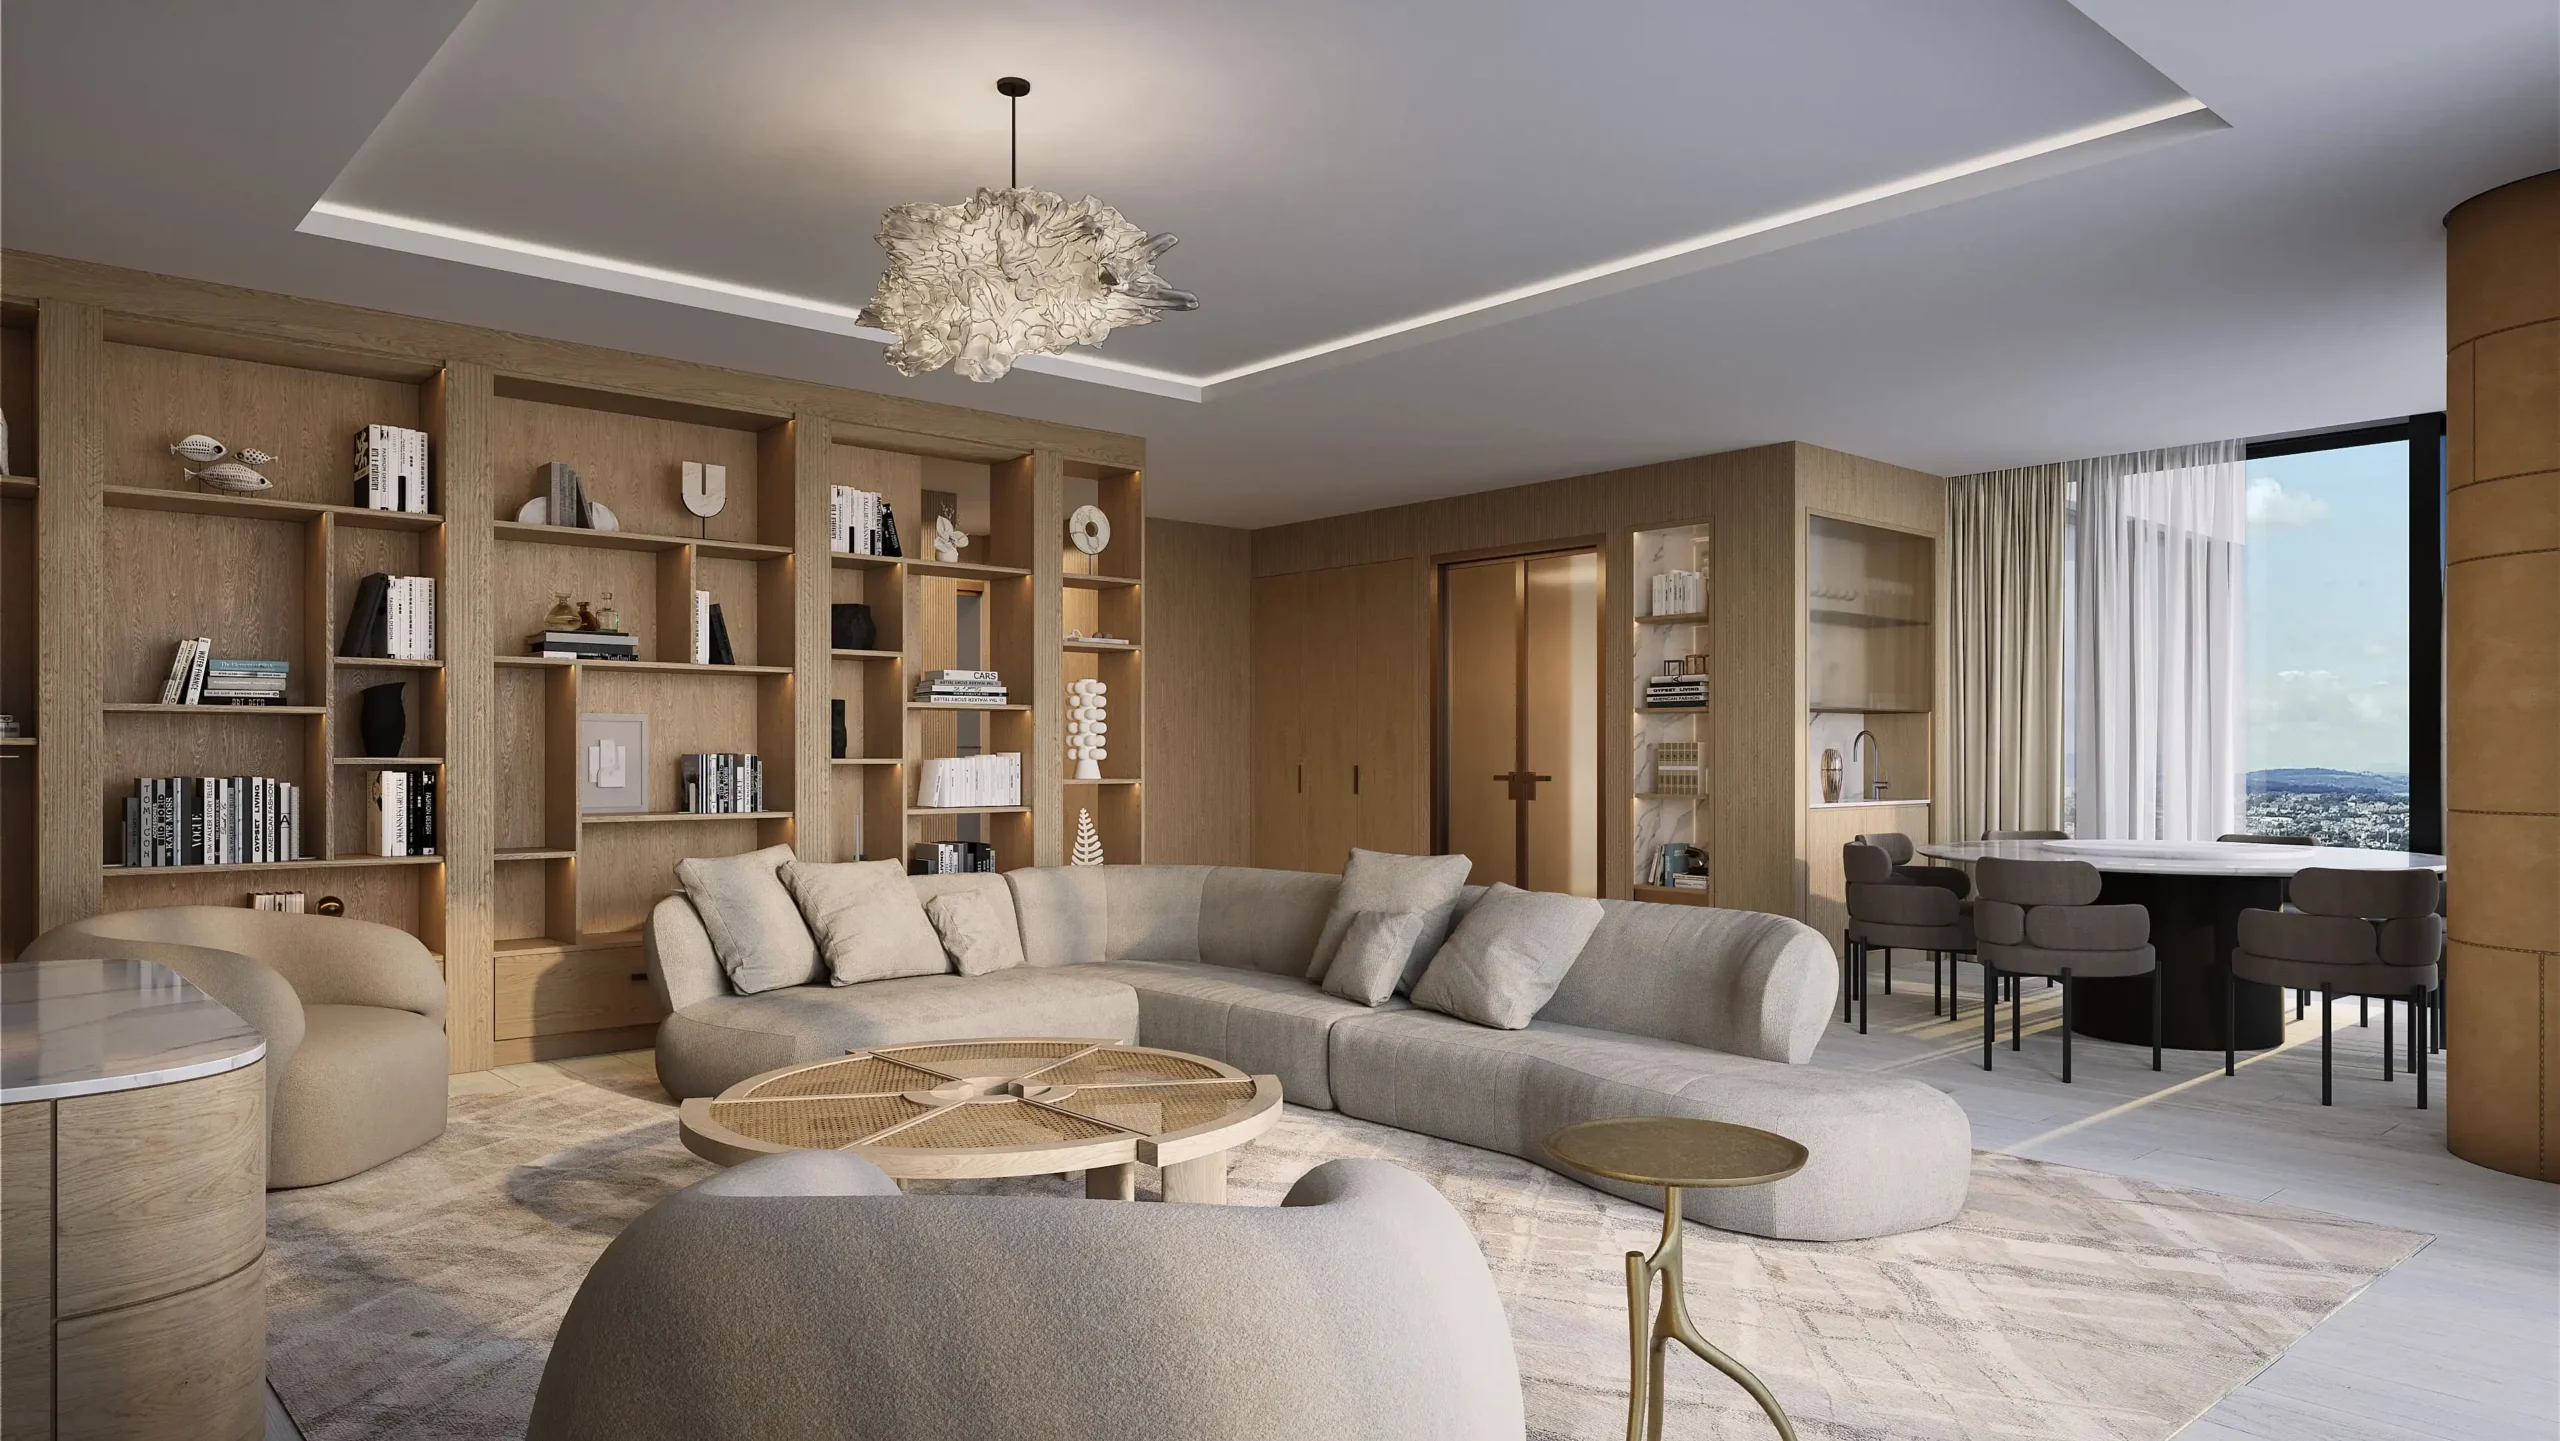
For designers, builders, and B2B buyers, a villa whole-house custom cabinet project is not one large kitchen order. It is a coordinated set of kitchens, wardrobes, vanities, TV cabinets, bookcases, wine storage, wall panels, and transition details that must look intentional and install in the right sequence. This anonymized composite case study explains a repeatable workflow: define a room-by-room specification system, approve materials at full scale where visual continuity matters, resolve site interfaces before release, control production by room package, and plan packing around installation. It is a practical project framework, not a claim about a single named KEJIA installation.
Use this villa whole-house custom cabinet case study as an RFQ and drawing-review reference, then replace the composite scenario with client-approved first-party project records when available.
Who This Case Study Is For
- Interior designers coordinating a consistent villa language across multiple rooms.
- Builders and contractors responsible for measurement, sequencing, and site handover.
- Cabinet dealers who need a factory-ready whole-house specification package.
- B2B buyers assessing whether a manufacturer can manage complex, mixed-material projects.
Key Takeaways
- Whole-house customization needs one material language and many room-specific construction decisions.
- Full-height panels, veneer, stone, metal, and lighting details must be reviewed at their actual junctions.
- The installation sequence should be decided before packing.
- Each room package needs its drawing revision, finish codes, hardware schedule, and packing reference.
- The strongest manufacturer question is how material, interfaces, QC, and replacement records will be controlled.
Villa Whole-House Custom Cabinet Case Study: What Changes by Room?
On mobile, swipe left or right to view all table columns.
| Villa zone | Typical custom scope | Main control point | Failure if not specified |
|---|---|---|---|
| Кухня | Base and wall cabinets, island, pantry, appliance housings | Appliance, countertop, and service interfaces | Conflict with appliances or utilities |
| Master suite | Wardrobes, dressing island, TV wall, bedside joinery | Door alignment, lighting, finish continuity | Broken visual line across full-height elevations |
| Bathrooms | Vanities, mirror cabinets, storage | Moisture strategy, wall fixing, plumbing access | Swelling risk or inaccessible valves |
| Living areas | TV cabinetry, bookcases, bar, wall panels | Wall flatness, wiring, transitions | Gaps, inconsistent reveals, difficult trimming |
| Wine, entry, utility | Display, shoe, laundry, coat storage | Ventilation, glass, load, service clearance | Damage or unusable storage |
This villa whole-house custom cabinet case study treats every room as a linked package: a material or interface change must update drawings, production data, QC, and packing references together.
How This Villa Whole-House Custom Cabinet Case Study Builds a Usable Specification
Create one room package for every installation zone
Each room package should include current elevations, plans, sections, cabinet codes, bill of materials, finish codes, hardware, lighting and electrical interfaces, wall-panel returns, and measurement notes. A global finish palette does not tell an installer where a panel starts, how a wardrobe meets a ceiling shadow line, or who supplies an LED driver. Connect the design language and room-level instructions with the same finish and cabinet codes.
In this villa whole-house custom cabinet case study, the room package is the handoff document between design, factory, and installation teams.
Separate visual continuity from structural suitability
The same timber look can use different construction methods, but each room needs an appropriate substrate and edge strategy. Use moisture-appropriate carcasses and sealed cut edges near vanities; confirm screw holding and wall fixing for tall wardrobes; and determine glass thickness, shelf load, and lighting heat management in display furniture. Request applicable EPA composite-wood compliance documentation at quotation stage for the target market. Review the related cabinet material selection guide before material release.
This villa whole-house custom cabinet case study treats substrate and edge selection as a performance decision, not only a visual choice.
Review junctions at full scale
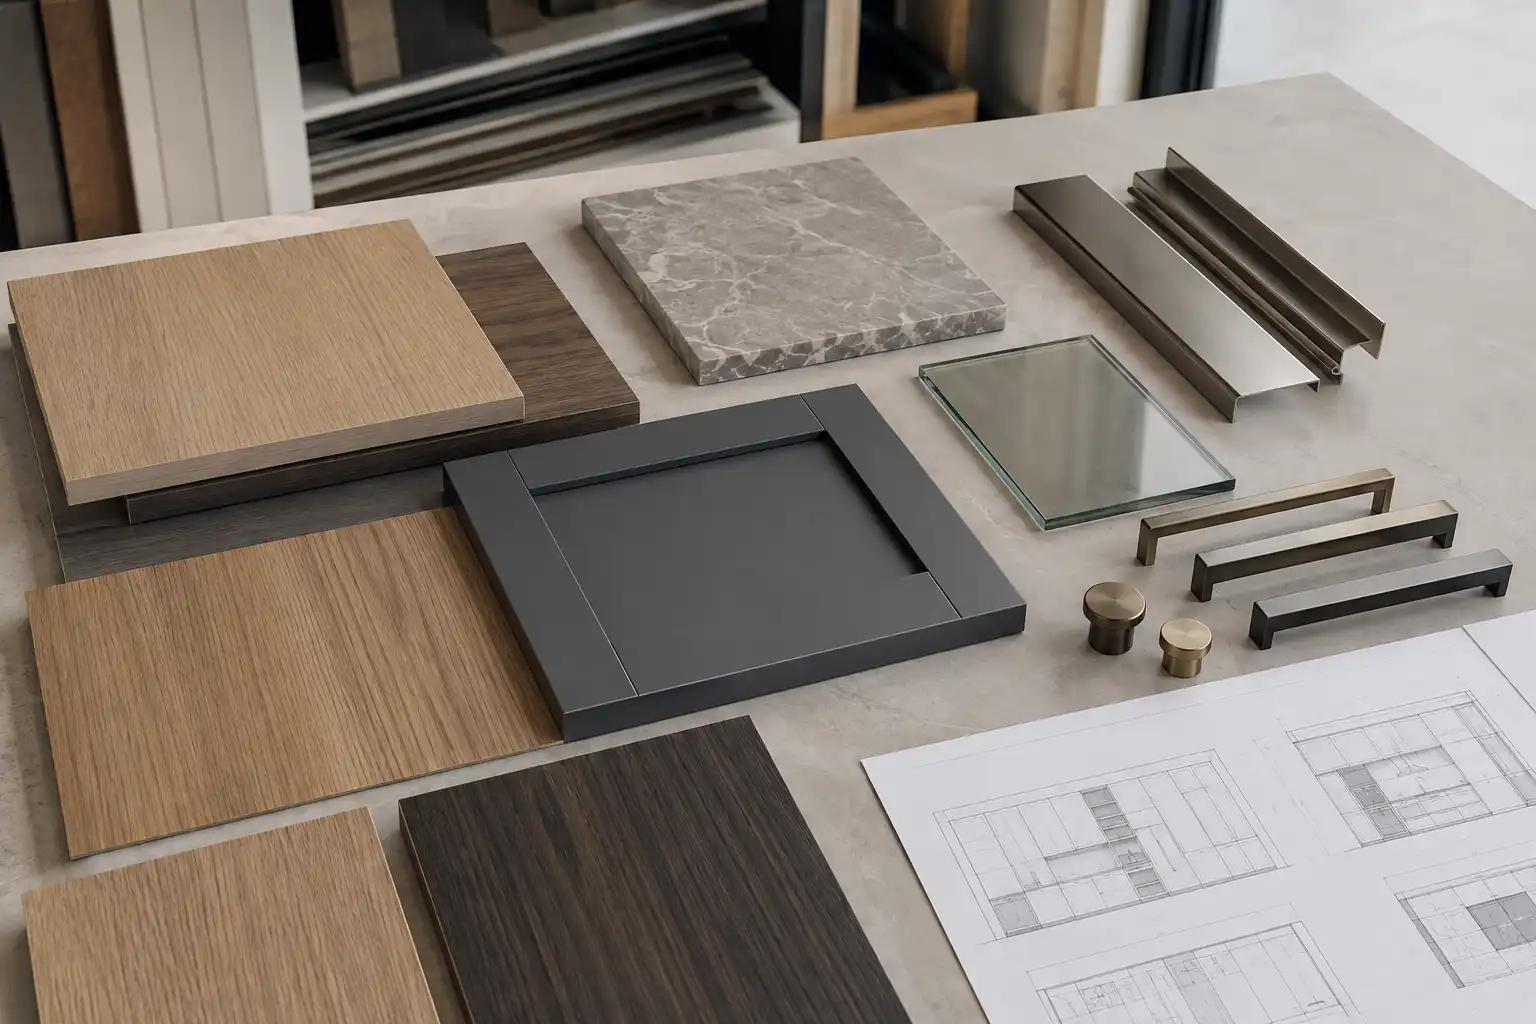
Villa risks usually occur at transitions: veneer door to wall panel, stone to cabinet side panel, metal profile to lacquer, wardrobe to uneven ceiling, or cabinet to concealed door. A chip can approve colour, but not a shadow gap, grain direction, handle clearance, or reveal across trades. Use a large sample, mock-up, or approved technical detail for the prominent junctions.
For this villa whole-house custom cabinet case study, those junctions need approval before the production drawing is released. See the related luxury cabinet finishes guide for finish-level decisions.
Verify the site before final production release
Confirm finished floor levels, ceilings, wall flatness, niche sizes, appliance models, plumbing, electrical points, HVAC grilles, and stone templates at the agreed measurement stage. Record deviations in a site-measurement report and reconcile them with production drawings before cutting begins.
A villa whole-house custom cabinet case study becomes dependable only when its final measurements are traceable to the released drawings.
Villa Whole-House Custom Cabinet Case Study: Which Controls Protect Design Intent?
On mobile, swipe left or right to view all table columns.
| Control | Factory-side action | Project-team decision rule |
|---|---|---|
| Finish master | Retain approved door, edge, veneer, metal, and stone-adjacent samples. | Approve actual combinations, not colour names alone. |
| Grain and layout | Plan veneer or directional decor by elevation. | Review the whole visible run before production. |
| Technical junctions | Detail gaps, returns, skirting, and transition profiles. | Approve the visible junction at full scale where critical. |
| Hardware and lighting | Confirm model, finish, drilling, power responsibility, and access. | Test operation and service access in a mock-up. |
| Site measure and packing | Verify final conditions and group products by room and phase. | Freeze after key dimensions; do not bury early items behind later cartons. |
The practical test in this villa whole-house custom cabinet case study is whether the same control can be applied to each room without leaving the installer to interpret an unresolved detail.
Villa Whole-House Custom Cabinet Case Study: Factory Insight on Interfaces
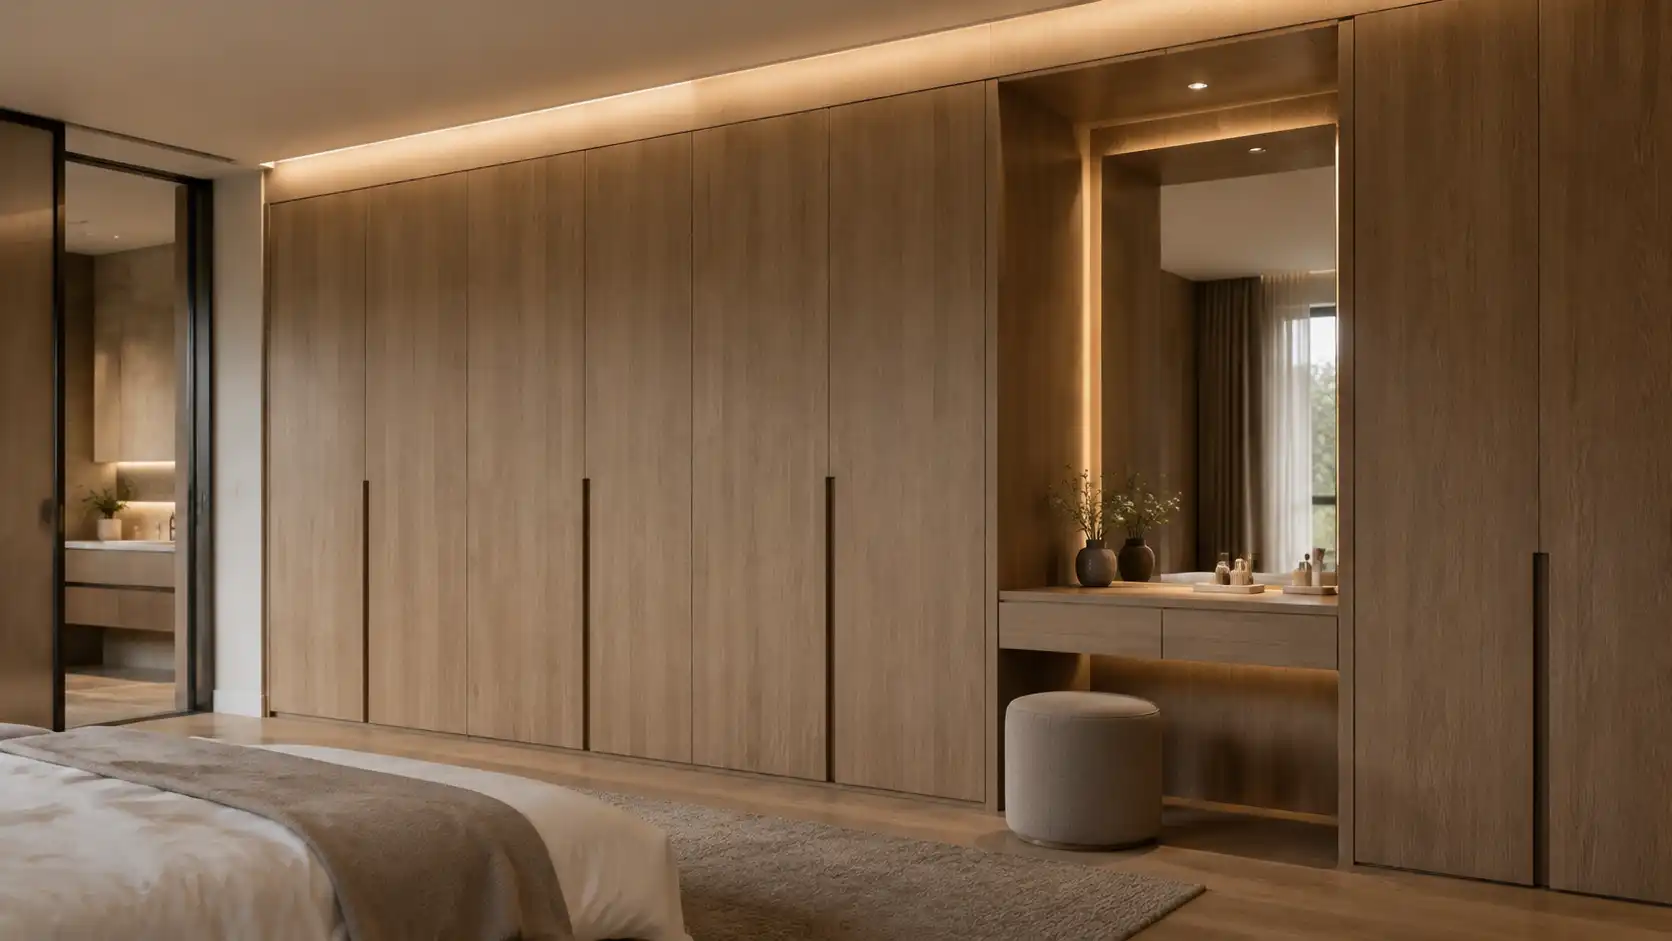
For a villa, “custom” does not mean every cabinet needs a unique construction system. It means visible details and site interfaces are deliberately controlled. KEJIA’s drawing review should identify who owns each interface: cabinet factory, stone fabricator, lighting supplier, electrician, HVAC contractor, or installer. A full-height wall panel may look simple, but its success depends on wall tolerance, fixing method, access panels, grain direction, and how it meets flooring and ceiling. Resolve those items in drawings and samples; site workarounds can compromise appearance and service access.
That interface discipline is the manufacturer-side lesson of this villa whole-house custom cabinet case study.
Villa Whole-House Custom Cabinet Case Study: Production and Delivery Sequence
Start with rooms least exposed to late changes: utility storage, standard secondary wardrobes, or approved bathroom cabinets. Keep highly visible areas—feature kitchen, master suite, entry wall, and wine display—behind a final sample and site-measurement gate. During production, inspect door alignment, edge finishing, drilling, hardware function, dimensions, and finish consistency by room package. Lay out veneer or directional wood-grain panels by elevation before assembly.
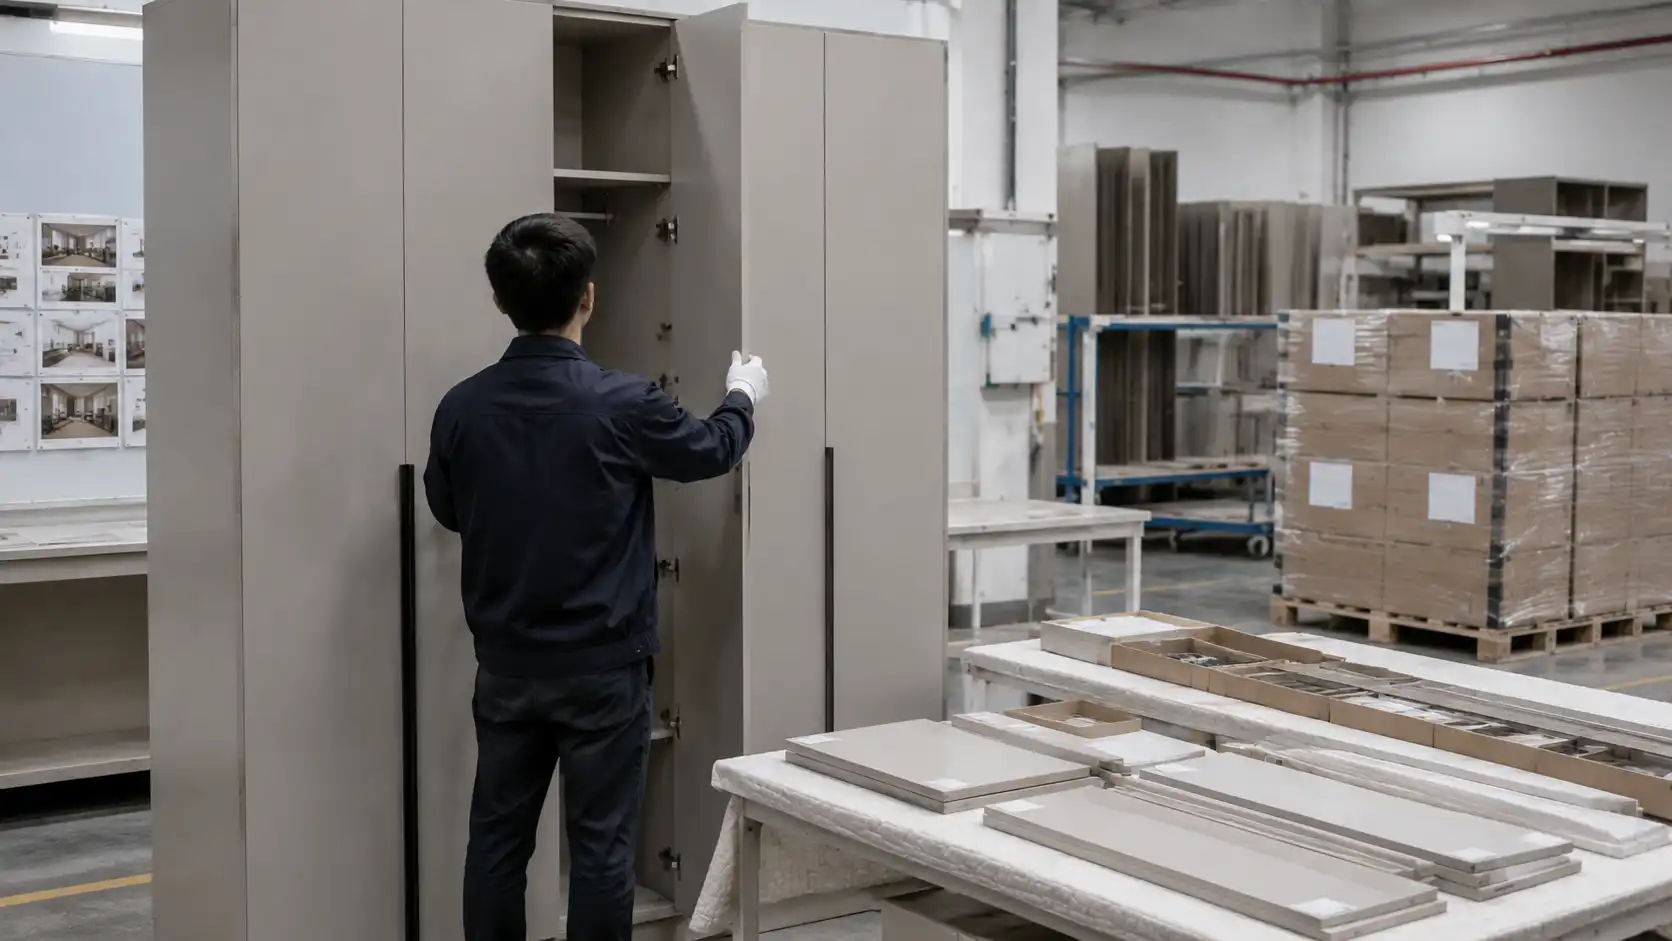
This villa whole-house custom cabinet case study uses room-package QC to keep complex components traceable from approval through dispatch. Use the related cabinet color consistency guide for visible-finish controls.
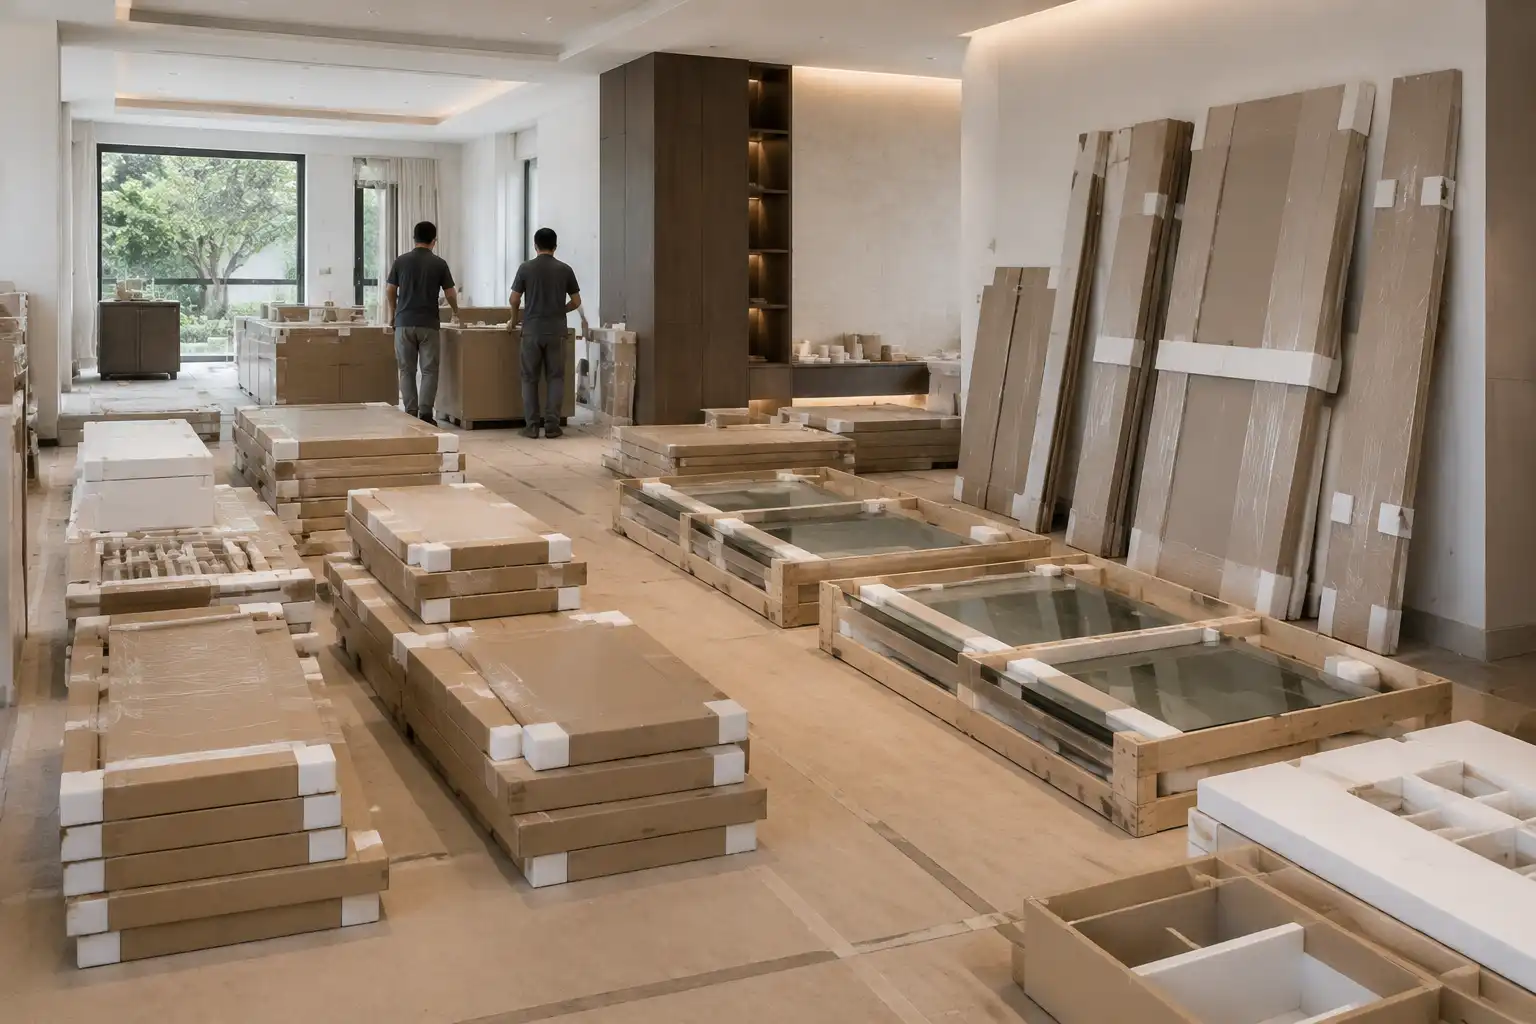
For delivery, distinguish protection from installation sequence. Glass doors, long panels, stone-adjacent components, and hardware kits need special protection. The packing list should identify room and phase so wall preparation and fixed panels can arrive first, then cabinets, then fragile fronts and accessories without treating every carton as interchangeable.
In this villa whole-house custom cabinet case study, phased packing supports installation rather than forcing the site team to search through unrelated cartons. Review the custom cabinet project timeline alongside the delivery plan.
Villa Whole-House Custom Cabinet Case Study: Common Mistakes and Prevention
- Using one finish name across unrelated materials. Approve veneer grade, stain, grain, edges, and matching method as a complete combination.
- Measuring before the site is ready. Agree a measurement-ready checklist for floors, walls, ceilings, and appliances.
- Leaving trade interfaces unassigned. Record responsibility for power, drivers, stone cut-outs, wall preparation, and access panels.
- Approving only small chips. Use a large sample or mock-up for long veneer runs and profile transitions.
- Ignoring maintenance access. Protect valves, electrical drivers, and HVAC access points.
- Mixing room packages in packing. Label by zone, cabinet code, package, and revision.
- Treating replacement panels as a simple repeat order. Retain finish samples, drawings, drilling data, and panel-layout records.
Villa Whole-House Custom Cabinet Case Study Release Checklist
- Every room has current plans, elevations, cabinet codes, sections, finishes, and revision status.
- Master samples show actual substrate, face, edge, metal, and adjacent finishes.
- Critical veneer, wall-panel, stone, glass, and profile junctions have large-sample or full-scale approval.
- Appliance, plumbing, lighting, electrical, HVAC, and access responsibilities are assigned.
- Site measurement is complete and recorded before critical fabrication release.
- Hardware models, drilling positions, lighting components, and service access are confirmed.
- QC checks finish, dimensions, door gaps, function, drilling, and room-package traceability.
- Packing follows villa zone and installation phase, with fragile parts protected.
Use this villa whole-house custom cabinet case study checklist at both the drawing-release and pre-shipment meetings.
Villa Whole-House Custom Cabinet Case Study FAQs
Is a whole-house cabinet quotation enough to start production?
No. A quotation confirms commercial assumptions; it does not replace approved shop drawings, materials, site measurements, and interface decisions. Production needs a released room package for each zone and a documented method for changes.
How should designers manage one finish across kitchen, wardrobes, and wall panels?
Create a finish master that defines the actual material in each use—veneer, painted MDF, melamine, PET, metal, or laminate—plus grain direction, sheen, edge treatment, and visual adjacency. Review samples beside the materials they will meet.
Which rooms should be measured last?
Measure when interfaces are stable, not simply in build order. Feature kitchens, full-height wardrobes, stone-adjacent joinery, wall panels, concealed doors, and HVAC areas need final verification. Utility spaces can release earlier if conditions are confirmed.
How can installers avoid damaging premium cabinet finishes?
Use a protected sequence, keep cabinets in room packages, complete wet and dusty work first where possible, and remove protective film only at the agreed final stage. Inspect before drilling, trimming, or permanently fixing components.
Can wall panels and cabinets be produced by different suppliers?
Yes, but risk rises at the junction. Both teams need shared details for thickness, reveal, fixing, finish match, and installation order. When panels and cabinets appear as one elevation, use one coordinated drawing review and sample approval.
What records help with maintenance or replacement parts?
Keep signed drawings, room and cabinet codes, finish samples, hardware schedules, drilling data, panel layouts, packing lists, and final photographs. These let the manufacturer identify original construction and determine whether a new sample comparison is needed.
Request a Villa Whole-House Custom Cabinet Case Study Review
Send KEJIA your villa room schedule, drawings, reference images, material palette, target market, and construction programme. We can review room packages, high-risk junctions, site-measurement gates, QC checkpoints, and a phased packing plan before preparing a custom cabinet quotation.
Send the same inputs for this villa whole-house custom cabinet case study to be adapted into a verified, client-approved project page, or request a project quotation.