





Who This Guide Is For
- Contractors coordinating cabinet delivery and installation on apartment, villa, hospitality, or retail projects.
- Importers and distributors receiving custom kitchen cabinets, wardrobes, vanities, and wall panels from overseas.
- Developers and procurement teams comparing a manufacturer’s export-delivery capability.
- Installation managers who need a usable container unloading and damage-reporting process.
Key Takeaways
- Specify protection by component risk: door faces, panel edges, glass, hardware, and stone-adjacent parts do not need the same packaging.
- Use cabinet and room codes that match the approved drawings, packing list, and installation sequence.
- Treat container blocking, carton orientation, and moisture exposure as part of the packaging scope.
- Ask for final packing photos, carton counts, and a loading record before the container is sealed.
- Inspect the container and cartons at handover; photograph exceptions before cartons are moved, discarded, or installed.
What Does a Cabinet Container Loading Checklist Include?
A cabinet container loading checklist should connect the product, the route, and the receiver’s workflow. It should cover the component group, surface protection, edge and corner protection, carton or crate type, carton identifier, hardware allocation, maximum handling weight where required, and container-loading orientation. If a supplier only offers the phrase “export standard packing,” ask for the actual method by cabinet type.
On mobile, swipe left or right to view all table columns.
| Component or risk group | Protection to specify | Traceability requirement | Common failure to prevent |
|---|---|---|---|
| Gloss, PET, acrylic, lacquer, or veneer doors | Clean non-abrasive interleaf, finish-compatible film where approved, rigid corners | Door finish and cabinet code | Face rubbing, corner chips, protective film residue |
| Flat-pack carcasses and panels | Face separators, edge guards, reinforced carton or corner board | Room, cabinet code, carton sequence | Crushed edge, wrong room opened first |
| Glass doors and fragile inserts | Individual protection, rigid crate or reinforced carton, handling orientation | Fragile mark and cabinet code | Breakage from compression or loose movement |
| Hinges, runners, screws, and fittings | Sealed labelled kit in the relevant cabinet or room carton | Hardware-kit code tied to drawings | One missing fitting stopping installation |
| Tall units, oversized panels, and special shapes | Bracing, lift/handling instructions, route-specific packing method | Dimensions, gross weight, orientation | Unsafe handling, bending, or forklift damage |

Which Cabinet Packaging for International Shipping Format Fits Your Project?
Cabinet packaging for international shipping is rarely a single-format decision. Flat-packed components normally improve container utilisation and reduce the size of individual pieces handled on site. Pre-assembled modules can reduce selected assembly steps, but they need more volume, stronger bracing, and a clearer unloading plan. The right decision is usually a mixed one: flat-packed carcasses, separately protected doors, room-specific hardware kits, and crated fragile or irregular items.
On mobile, swipe left or right to view all table columns.
| Packing format | Best for | Main advantage | Risk to control | Buyer instruction |
|---|---|---|---|---|
| Flat-packed cabinet components | Multi-unit projects and constrained site access | Better container utilisation and manageable pieces | Edges, lost hardware, mixed parts | Require room-coded carton sets and protected board stacks |
| Pre-assembled selected modules | Repetitive units with fast installation needs | Less site assembly for selected cabinets | Volume, lifting, and corner impact | Confirm module dimensions, bracing, and unloading equipment |
| Door-only cartons | Projects where doors install after carcasses | Protects visible finishes and simplifies sequence | Face abrasion and finish mix-up | Separate each door face and label door/finish/cabinet code |
| Crated fragile packages | Glass, special display units, irregular components | High protection against compression | Added cost and destination disposal | Agree crate opening order and recyclable-material requirements |
| Palletised dealer or warehouse orders | Consolidated stock and repeated handling | Easier warehouse movement | Mixed SKUs and unstable stacking | Request pallet map, carton count, and stretch-wrap control |
How Do Labels and Packing Lists Prevent Installation Delays?
Every external carton label should allow a receiver to identify the project, location, cabinet, and set completeness without opening the carton. The approved drawing code is the reference point. A carton called “kitchen cabinet” does not help an installer locate a base unit in Apartment 12, Kitchen A, wall 3.

Use one code system across the drawing schedule, production list, packing list, carton label, and spare-parts record. A practical label includes project code, block/floor/room or zone, cabinet code, carton number and total, gross weight, dimensions where helpful, and handling symbols. Print the label on a durable outer surface and keep a matching digital packing list.

On mobile, swipe left or right to view all table columns.
| Document or label | Minimum content | Why the receiving team needs it | Control point |
|---|---|---|---|
| Carton label | Project, room/zone, cabinet code, carton sequence, gross weight | Routes cartons without opening them | Must match the controlled drawing revision |
| Packing list | Carton ID, description, quantity, weight, cabinet code | Confirms completeness and supports claims | Issue before container sealing |
| Hardware-kit label | Cabinet/room code and fitting group | Prevents fittings becoming a mixed accessories problem | Pack with the related set whenever practical |
| Container loading record | Container number, seal number, carton/pallet position, photos | Gives the receiver a factual unloading reference | Capture before doors close |
| Exception report | Damage location, code, photo, quantity, action | Controls replacement and after-sales decisions | Record at handover, not after installation |
How Should Cabinets Be Loaded Inside a Container?
A cabinet container loading checklist treats container loading as a packaging control—not merely a freight task. The load plan should put stable, heavier cartons on the floor; keep fragile or high-finish packages away from uncontrolled compression; preserve the orientation intended by the pack design; and block voids so cartons cannot gain momentum during transit. Do not load wet goods, sharp loose items, or unrelated cargo against cabinet packages.
The route matters. A direct container to a protected warehouse is not the same as a shipment with transshipment, cross-docking, long warehouse storage, and manual handling. When routes or damage history justify extra validation, buyers can discuss route-appropriate packaging performance with their manufacturer and logistics partner. ISTA publishes test procedures that can help frame this discussion; a test does not replace a product-specific packing specification.
Cabinet Container Loading Checklist Before Sealing
- Confirm the container is dry, clean, odour-free, and free from protrusions that could puncture cartons.
- Check the container number and record it against the project packing list.
- Load cartons in the orientation stated by the packing method; do not turn door cartons flat unless the method permits it.
- Place heavier, stable cartons at the floor level and avoid uncontrolled compression on fragile packs.
- Use suitable blocking, bracing, dunnage, or other agreed load-stabilisation materials to control voids and movement.
- Keep all room-coded cartons and hardware cartons identifiable at the planned unloading stage.
- Photograph representative protection layers, loaded positions, container number, and final seal.
- Record the seal number and send the final packing list and loading record to the buyer before departure.
Factory Insight: Packaging Is a Traceability System
At KEJIA, cabinet packaging for international shipping starts with the approved room list, cabinet codes, finish-risk groups, and delivery sequence—not after final QC. A high-gloss door, a veneer panel, a flat-packed carcass, and a hardware kit do not share the same transit risk. We separate visible finishes, protect exposed edges, group fittings so they remain traceable, and align carton labels with the drawing package.
The factory-side control is only complete when a receiver can answer four questions from the carton and packing documents: What room does this serve? Which drawing item does it match? Is the set complete? Was damage already visible when it was received? That clarity reduces unnecessary unpacking, protects claims evidence, and makes replacement-part requests precise.
What Should Contractors Check When the Shipment Arrives?
Cabinet packaging for international shipping remains effective only when the receiving team checks it before installation. Inspect in layers: the container or truck condition, seal integrity where relevant, obvious outer-carton condition, carton count, and the cartons needed first. If damage is found, photograph the package in place, capture the identifying label, note the condition on the delivery record where appropriate, and preserve the packaging until the issue is assessed.

On mobile, swipe left or right to view all table columns.
| Receiving stage | What to check | Evidence to keep | Action if there is an issue |
|---|---|---|---|
| Before opening | Container/truck condition, seal where applicable, water signs | Wide photos, container number, seal number | Record exceptions before unloading continues |
| During unloading | Carton count, crushed corners, punctures, wet cartons, orientation | Photos of damaged location plus carton label | Isolate affected cartons without losing their location record |
| Before installation | Cabinet code, carton sequence, hardware-kit match, visible finish condition | Packing-list tick-off and close-up photos | Notify the supplier with exact code, quantity, and description |
| After unpacking | Concealed damage, missing parts, wrong finish or drilling | Photos with component code and drawing reference | Retain packaging and follow the agreed claims/replacement process |
Six Packaging Mistakes That Create Avoidable Damage
1. Treating “export packing” as a complete specification
The phrase does not identify how a glossy door, a large panel, or a hardware kit is protected. A usable cabinet packaging for international shipping specification names the component-level packing method before production is complete.
2. Using one mixed accessories carton for the entire project
Mixed fittings can make a single missing bracket delay several rooms. Allocate and label hardware by cabinet or room kit, with a spare-parts approach agreed in advance.
3. Printing labels that do not match drawings
Different codes force installers to guess and open more cartons. Freeze the drawing revision before label printing and use the same code in the packing list.
4. Optimising only for carton count
An oversized or overweight carton is more likely to be dragged, dropped, or opened too early. Match carton weight and dimensions to the destination handling plan.
5. Leaving container voids uncontrolled
A well-packed carton can still be damaged if it moves during transport. Require a load plan and photos showing how movement and compression were controlled.
6. Discarding damaged packaging before evidence is captured
Once the carton, label, and loading position are gone, it becomes harder to distinguish transit damage from site handling. Photograph and record the issue before disposal or installation.
Cabinet Container Loading Checklist for Buyers
- Share the controlled drawing revision, room schedule, destination, and installation sequence with the manufacturer.
- Confirm which components will be flat-packed, pre-assembled, door-only packed, or crated.
- Approve finish-compatible protection for high-risk faces, edges, glass, and special-shaped parts.
- Define carton labels with project, room/zone, cabinet code, carton sequence, and gross weight.
- Require hardware allocation by cabinet or room—not only a mixed project accessories carton.
- Request the packing list before sealing and verify it uses the same codes as the approved drawings.
- Agree the container-loading plan, carton orientation, void control, and photo record.
- Confirm the commercial delivery term, named place, receiver, unloading equipment, and damage-reporting process.
- Inspect at receipt, keep evidence, and report damage with exact carton/component codes.
الأسئلة المتداولة
What is the best packaging for flat-pack cabinets shipped internationally?
There is no one package that fits every flat-pack cabinet. The best approach protects panel faces with clean separators, reinforces vulnerable edges and corners, allocates hardware to traceable kits, and uses room-coded cartons that match drawings. The shipping route, finish sensitivity, carton weight, and site handling plan should determine the final method.
Should cabinet doors be packed separately from carcasses?
Often, yes. Separately packing doors can protect visible finishes and let installers sequence carcass installation before fitting doors. It is especially useful for lacquer, veneer, PET, acrylic, and other finish-sensitive surfaces. Each door carton still needs a clear cabinet and finish code so it does not become separated from the correct carcass.
What information should be printed on a cabinet carton label?
At minimum, print the project code, room or zone, cabinet code, carton number and total quantity in the set, and gross weight. Add dimensions and handling/orientation symbols where useful. The key requirement is consistency: the carton code must match the approved drawings and packing list used by the receiving team.
How can an importer reduce moisture damage in a cabinet shipment?
Start with moisture-appropriate cabinet construction and sealed exposed edges; packaging cannot correct an unsuitable substrate or finish. Then keep cartons dry, verify the container is clean and dry before loading, avoid wet cargo, and plan for destination storage conditions. Record water signs immediately at handover so the evidence is not lost.
What should be checked before a container of cabinets is sealed?
Check the container condition, the carton count and labels, carton orientation, stable placement of heavy and fragile packages, control of voids, and the availability of hardware kits. Record the container number, seal number, packing list, and representative loading photographs. Send this record to the buyer before or at departure.
Who is responsible for damage found after delivery?
Responsibility depends on the agreed sales contract, named delivery term, carrier arrangements, insurance, and evidence of when and how the damage occurred. The operational priority is to record the condition immediately: photograph the package and label, note exceptions at handover where appropriate, retain the packaging, and notify the relevant parties under the agreed claims process.
Is formal packaging testing necessary for every cabinet order?
Not necessarily. A standard repeat order on a controlled route may rely on a proven packing method, while high-value finishes, unusual shapes, repeated damage, or complex handling can justify further validation. Discuss actual route and handling risks with the manufacturer and logistics partner; do not use a generic laboratory claim as a substitute for a product-specific plan.
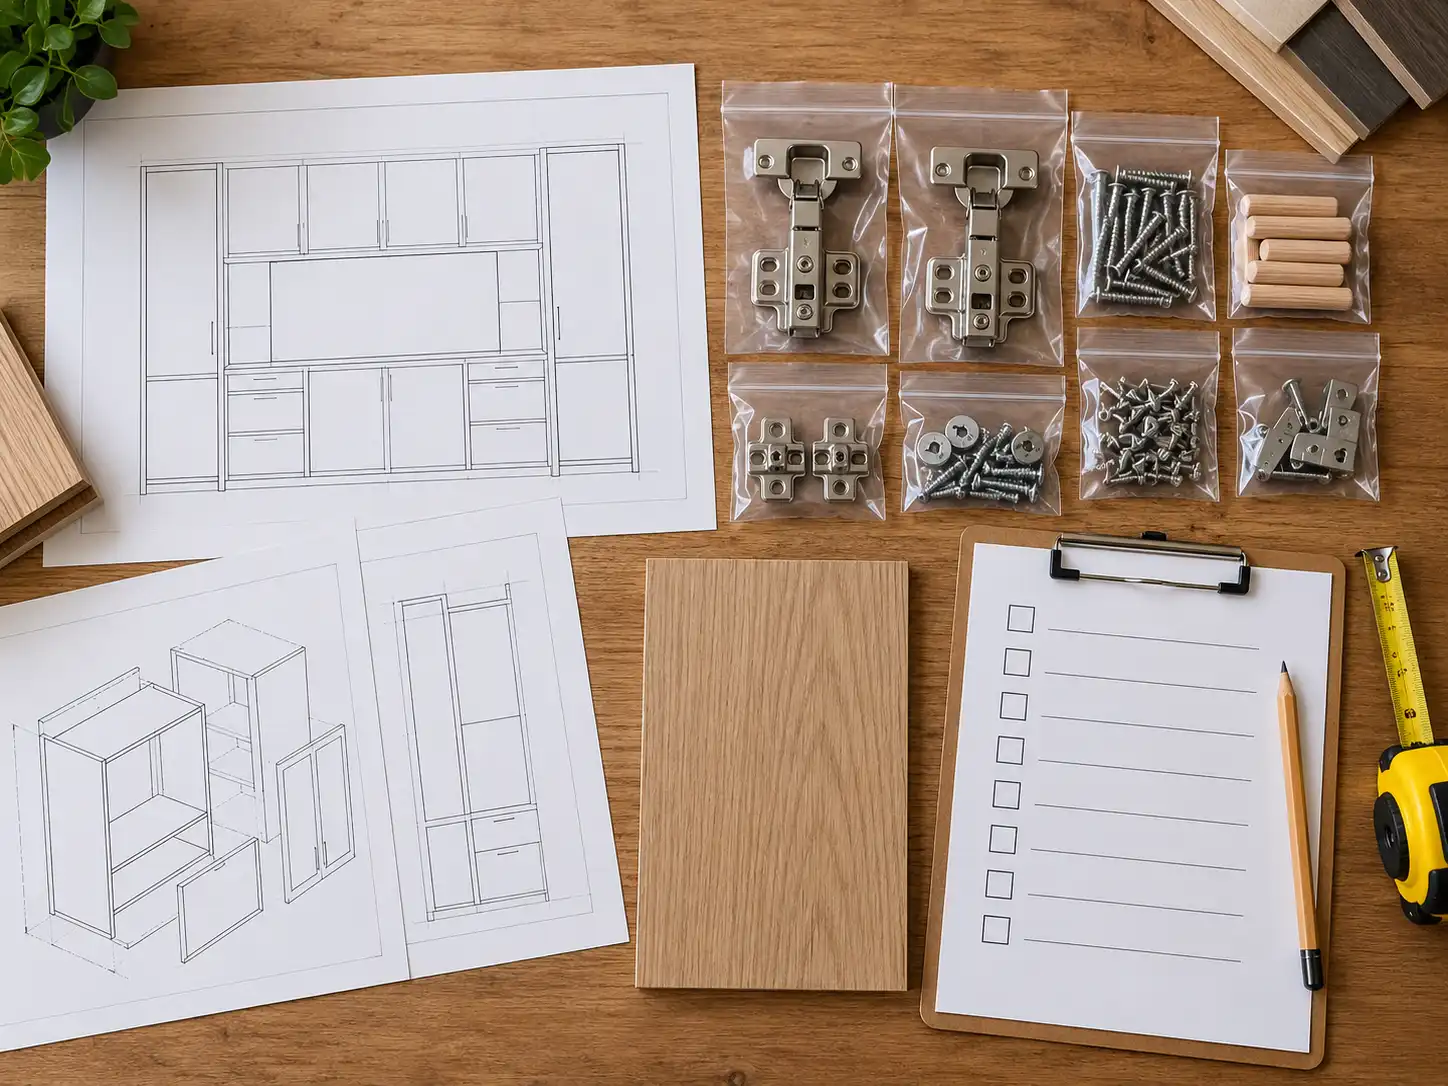
Reduce Damage Risk Before Your Cabinets Leave the Factory
The most cost-effective time to control shipping damage is before cartons are printed and the container is booked. Contact KEJIA with your drawings, room schedule, destination, product mix, finish requirements, and installation plan. We can help prepare a cabinet container loading checklist, room-coded packing list, and cabinet packaging for international shipping specification for your project quotation.